Troubleshooting
STL File Not Printing? A Troubleshooting Checklist for Beginners
FreshSTL Editorial Team
Nov 6, 2026
3 min read
Read Next
More articles you might like
Looks like you haven't added any 3D models yet.
More articles you might like
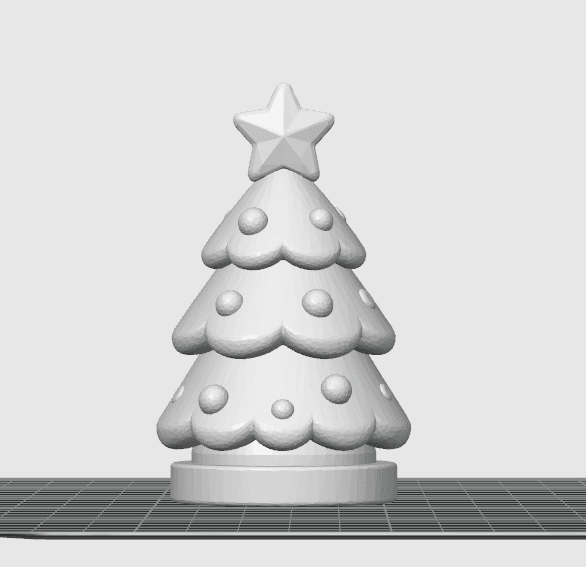
The article's cover visual, when shown, represents a FreshSTL 3D product, not a guarantee of a verified test print.
When an STL 'does not print,' first establish where the workflow stops. Does the file fail to open, appear incorrectly in the slicer, refuse to generate toolpaths or produce a bad physical object? Each stage requires a different diagnosis.
An STL file describes surface geometry, not your printer's operating instructions. In most FDM workflows the slicer creates the machine-specific print file after geometry and settings are checked.
Confirm the downloaded file is an actual STL rather than an archive that still needs extraction. If import reports an error, download the authorized original again and verify that the file is complete.
Then check units and dimensions. STL does not reliably encode a universal physical unit, so models can import much too small or too large. A figure that appears as a tiny dot may simply have a unit interpretation problem.
Missing faces, reversed or overlapping surfaces and unintended intersections may create holes or empty regions after slicing. Use your slicer's repair tools when appropriate, but compare the repaired model to the original before accepting a change.
Be especially cautious with articulated models: an automatic repair that connects intended separate joints may destroy their ability to move.
Confirm that the geometry is inside the build volume and touches the plate where intended. A tall, tilted model might have part of its body outside the print area. A floating model may need repositioning, a stable base or support.
Preview the first layer and toolpaths. A complete-looking 3D viewer is not evidence that every detail will generate printable extrusion paths.
Use your actual printer, nozzle, material and plate profile in the slicer. Then export using the format and transfer process supported by that machine; do not rename a raw STL as a machine instruction file.
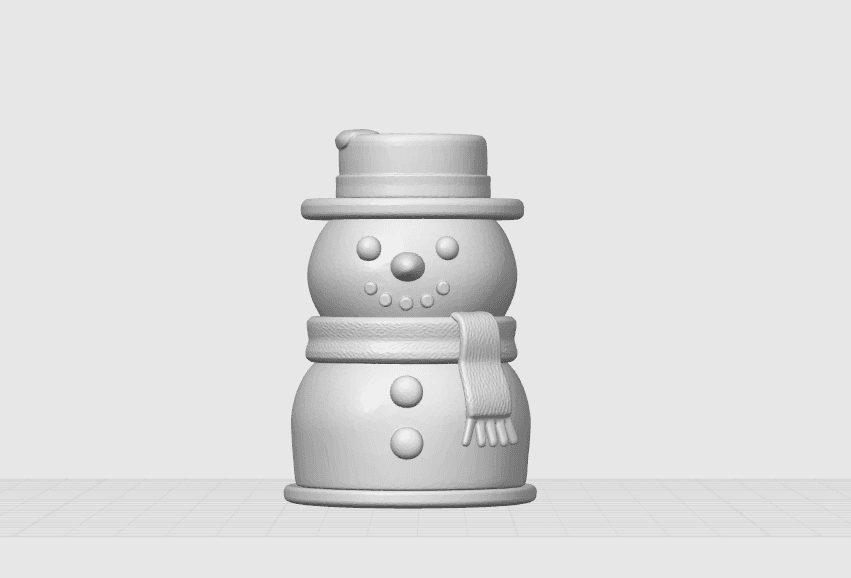
If the printer starts but the object detaches or fails physically, move to first-layer troubleshooting . For file selection, read how to choose STL files , or explore a printable snowman .
First, confirm that the file opens as a recognizable mesh. Second, confirm its dimensions and units. Third, verify that it fits inside the printer's build area and rests on the build plate. Fourth, generate toolpaths and inspect whether critical walls, tips and openings survive slicing. Fifth, transfer the correct machine-format file using the printer's supported workflow.
If the problem occurs at one stage, concentrate on that stage instead of changing unrelated hardware settings. A mesh that imports at the wrong size does not become valid simply because the bed is releveled.
Automatic mesh repair can help with non-manifold surfaces or isolated geometric defects, but the result should be compared visually and in the slicer. With articulated or modular parts, some automatic operations may close intended gaps or combine separate components.
Keep the original STL, save any repaired version under a distinct name and check the file at the intended dimensions before exporting toolpaths. If the model slices correctly but fails during the physical build, use first-layer diagnostics and small-figure printing tips rather than continuing to modify the mesh.
The mesh may be missing, invalid, extremely small, outside the build volume or imported at an unexpected scale.
Usually no. Most hobby FDM printers require printer-specific toolpaths generated by compatible slicing software.