Troubleshooting
How to Reduce Stringing on Small 3D Prints
FreshSTL Editorial Team
Nov 6, 2026
3 min read
Read Next
More articles you might like
Looks like you haven't added any 3D models yet.
More articles you might like
The featured visual, where available, is a FreshSTL product render rather than evidence of a physically tested print.
Stringing looks like fine plastic threads stretched between separated features. On small bottles, keychains and miniature figures, the threads may cover openings or obscure crisp edges. Blobs at the end of a travel move can accompany stringing, but they are not always caused by the same setting.
Take a photograph and note which features are connected by strands. A repeatable pattern is more useful than a vague impression that the print looks messy.
Many filaments absorb moisture from the air. Damp material may pop or hiss during extrusion, create inconsistent surfaces or increase stringing. Follow the manufacturer's drying instructions for that specific filament and use appropriate equipment; avoid improvised overheating methods.
Store unused filament in a sealed container with suitable desiccant and monitor humidity where possible. Retraction tuning cannot reliably compensate for severely degraded feedstock.
Printing too hot for a given filament and setup can cause more oozing during travel. Start from the maker's temperature guidance and use a small temperature test that your printer can complete safely.
Do not simply lower temperature until stringing vanishes. If you go too low, layer bonding and surface quality may suffer. Compare the entire part, including corners and bonded layers.
Retraction pulls filament back before a move to limit drooling. Direct-drive and Bowden systems need different starting parameters, and excessive retraction can grind filament or cause under-extrusion. Use your printer profile as a baseline.
Travel avoidance, wiping and seam settings may also affect how much string crosses the visible surface. Save the original profile so you can reverse an unsuccessful change.
Run the same small two-tower test after each major adjustment. Once strings are reduced, print the actual bottle or miniature and inspect its details and dimensional fit.
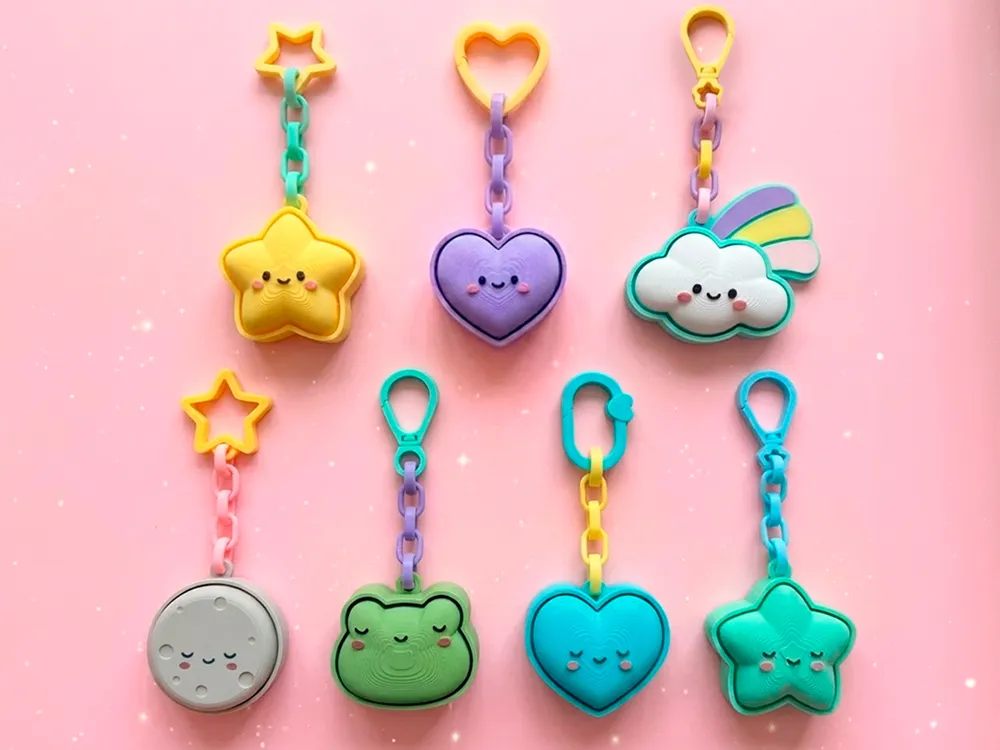
For a small-object example, explore Adorable Clicker Keychains , or review printing small figures for other common details.
A simple pair of vertical towers with a gap between them is a useful diagnostic because it forces repeated travel moves. Print one using your normal profile, then inspect whether threads are fine and scattered, thick and drooping, or accompanied by blobs at the tower ends. Photograph the baseline before modifying anything.
If your filament has a history of moisture exposure, verify its condition first. Then compare modest temperature adjustments within the manufacturer's stated range. Only after that should you change retraction distance, speed or travel options. A larger change does not necessarily produce a better result.
Too much retraction can cause inconsistent extrusion at the start of new paths, producing gaps or weak tiny features. A very low temperature may stop wisps but create under-bonded layers. On miniatures, those trade-offs may be worse than a few removable strings.
Review the finished object's actual corners and narrow passages, not just the test towers. If you have strings only between separately placed objects, experiment with travel strategy and placement before changing the entire profile. See filament storage best practices for a common upstream variable.
No. Wet filament, excessive nozzle temperature and travel behavior can contribute, even when retraction is calibrated.
Light strands can often be trimmed carefully, but preventing strings during printing improves fine details and saves cleanup time.