Troubleshooting
How to Fix 3D Printer First-Layer Problems Step by Step
FreshSTL Editorial Team
Nov 6, 2026
3 min read
Read Next
More articles you might like
Looks like you haven't added any 3D models yet.
More articles you might like
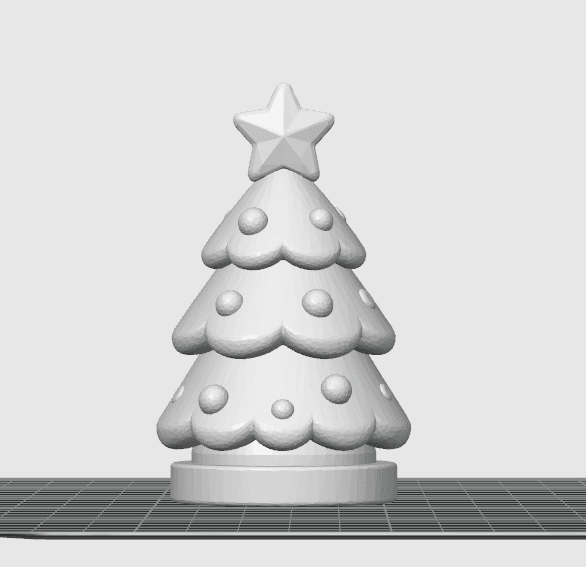
The featured visual, where available, shows a FreshSTL 3D model and should not be read as a photograph of a verified physical print.
If printed lines are round and detach easily, the nozzle may be too far from the surface or adhesion may be insufficient. If lines are squeezed into ridges and the nozzle drags through plastic, the first layer may be too compressed. A curled corner can signal cooling, bed temperature or contact-area problems.
These symptoms overlap, so make one small first-layer test and change only one relevant variable at a time.
Follow the build-plate maker's cleaning guidance. Finger oils and residue can reduce adhesion, especially on a frequently handled area of the bed. Do not scrub coatings with abrasive tools or use solvents that the manufacturer does not recommend.
Check that the correct plate type and material are selected in the slicer. A profile intended for a different surface can change temperature and release behavior.
Verify bed tramming or mesh calibration as supported by your printer. Then print a simple first-layer pattern and look for consistent line contact across the plate. Adjust the Z offset or first-layer calibration according to the printer's documented procedure.
A good first layer should form continuous, joined tracks without deep ridges or gaps. Never compensate for a dirty plate only by pressing the nozzle much harder into it.
A narrow snowflake tip, tall ornament base or tiny keychain may have limited contact area. If the machine is otherwise calibrated, a brim may help, but it can leave marks on delicate edges. Adding a stable base or changing orientation may be better for some objects.
Check the first two or three layers before leaving a long print unattended. A failed ornament can detach and collide with the rest of a populated bed.
Write down filament, plate, nozzle, bed temperature profile, first-layer result and the setting you changed. Consistent notes make it easier to identify whether failures follow a specific spool, plate location or model geometry.
For a low-risk test object, explore the printable Christmas tree . For next steps on small shapes, see printing snowflake ornaments .
Start with a small single-layer square or connected-line pattern. Watch whether all lines adhere, touch their neighbors and remain smooth. A completely detached first line points toward a different problem from a first layer that sticks strongly but has excess ridges.
Check the printer's leveling routine, then surface cleanliness, Z offset, bed profile and first-layer flow in that order. Avoid making all changes at once. If one corner repeatedly differs from the others, investigate plate flatness and leveling rather than changing nozzle temperature globally.
A calibrated printer can still struggle with a figurine that touches the bed at two narrow fingertips. Rotate the model or choose a suitable base, then inspect whether the slicer can generate stable starting paths. A brim can improve contact area but creates extra cleanup; this may be undesirable around tiny decorative loops.
If the print stays on the plate but its first-layer edges bulge, treat that as a separate dimensional issue. Read elephant's foot troubleshooting before adjusting adhesion further. Save one successful calibration test to compare against future failures.
Common causes include a dirty surface, an incorrect nozzle-to-bed gap, the wrong bed profile or unsuitable filament settings.
No. First verify bed cleanliness, appropriate surface preparation and nozzle height. Adhesives are surface- and material-specific.