Print Preparation
How to Print Small 3D Figures with Better Detail and Stability
FreshSTL Editorial Team
Nov 6, 2026
3 min read
Read Next
More articles you might like
Looks like you haven't added any 3D models yet.
More articles you might like
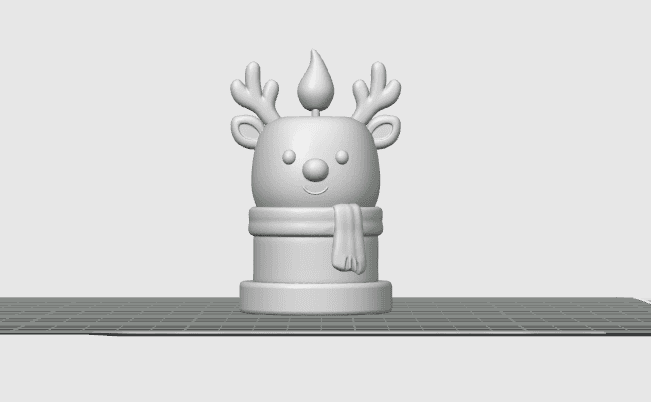
The cover artwork, where shown, is a FreshSTL product render for illustration rather than proof of a physical test print.
Small figures invite ambitious detail, but geometry does not scale independently. A nose, hand or scarf that looks substantial at 120 mm tall becomes half as thick at 60 mm. Open the model in a slicer and check its actual bounding-box dimensions before you start.
Look for a flat base or multiple connected contact points. A long-legged figure with tiny feet may need a base, a different pose or careful support placement.
Move through the layers and identify fragile projections: fingers, ears, hat brims, antlers and accessories. If a feature disappears or is represented by a single narrow extrusion, scaling up or choosing a less intricate version may give a better result than lowering layer height.
Consider whether the face needs support. Rough support contact scars are especially noticeable on tiny characters, so orient a model to protect its most visible surfaces while keeping it stable.
A smaller layer height may reduce visible stepping, but it also increases print time. Use the manufacturer's material profile as the baseline, then change one setting at a time. Cooling, perimeter speed and minimum-layer time become more important on small cross-sections.
Printing two small figures simultaneously can give each layer more time to cool, but it can also increase travel moves and stringing. Compare the slicer estimates and watch the first attempt.
Remove supports in short, controlled movements while holding the main body rather than a thin accessory. Use flush cutters for accessible contact points and avoid using excessive force on small arms or ornaments.
If a thin piece breaks repeatedly, revisit the model orientation, dimensions and print geometry. Glue can repair a display, but it is not a substitute for adequate wall thickness on load-bearing parts.
Print one scale test, assess facial details and base stability, then save the slicer project with the material and orientation you used. This record makes future figures easier to reproduce without relying on memory.
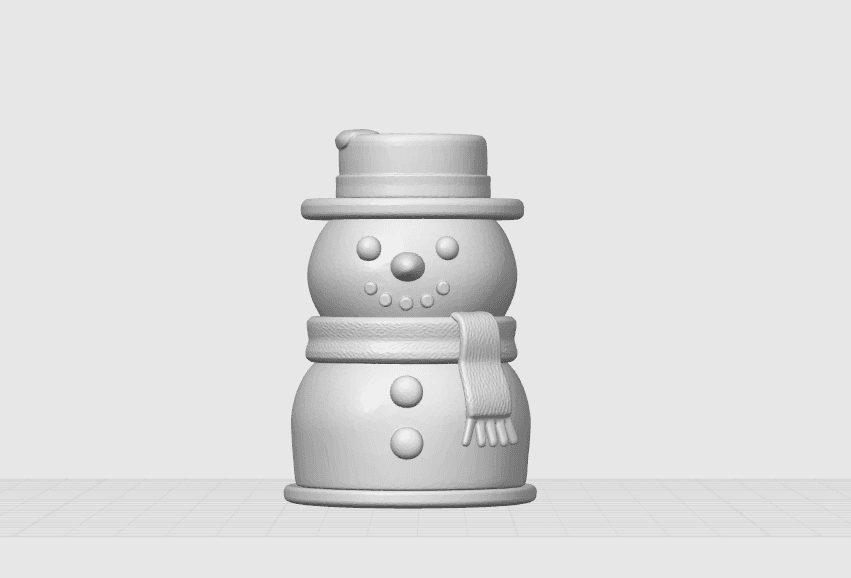
Explore how to pose figures for printing and the FreshSTL snowman for a seasonal example.
At miniature scale, the face, hands or silhouette usually carry more meaning than the hidden underside. Decide which feature matters most before rotating the object on the print bed. For example, a character with an expressive face should not have support interfaces directly over the eyes or mouth if a workable alternative exists.
Use the slicer's visibility tools to inspect each feature after scaling. A one-layer eyebrow or single-line finger is far more fragile than the same feature built from several continuous paths. If the model offers a simpler variant, it may look better at a smaller scale.
If the legs are unstable, review the base contact area and orientation. If the top of a tiny hat becomes blobby, inspect cooling and minimum-layer time. If the surface has fine hairs, use a repeatable stringing test before altering the entire filament profile.
Keep the first successful print as a reference. Compare subsequent versions under similar lighting and at normal viewing distance, not only using a magnified phone photo. The better print is the one that looks convincing and survives ordinary handling. For extra help, see support removal techniques .
Very small features may fall below the printer's practical feature size, while narrow bases and overhangs can make adhesion and cleanup harder.
No. It can improve certain surfaces, but nozzle width, model design, cooling and stable extrusion also determine visible detail.