Print Preparation
How to Remove 3D Print Supports Without Damaging Miniatures
FreshSTL Editorial Team
Nov 6, 2026
3 min read

Read Next
More articles you might like
Looks like you haven't added any 3D models yet.
More articles you might like
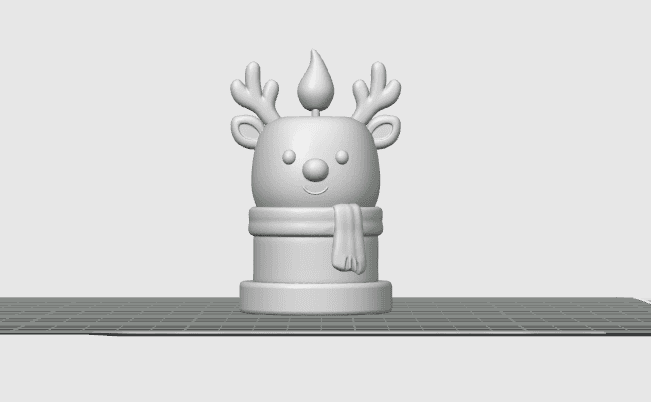
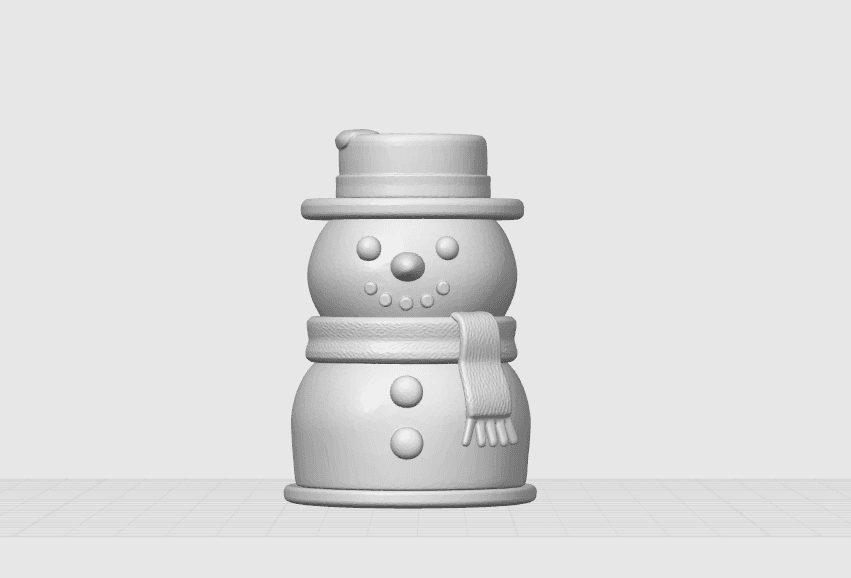
The featured visual, where available, shows a FreshSTL 3D model and should not be read as a photograph of a verified physical print.
Before printing, use layer preview to find every support interface. A support under the chin or across a face may produce a visible scar, while contact on the back or underside is less distracting.
If the print is not started yet, try a different orientation or support placement. Read how to plan supports for characters for the preparation stage.
Give the printed object enough time to cool. Remove it from the bed using the recommended release technique rather than bending a fragile figure off the plate by hand. Put the part on a stable, well-lit work surface.
Wear eye protection if brittle support pieces may snap off. Work away from your body and keep fingers out of the path of cutting tools.
Hold the model by a strong section and break supports into smaller pieces. Do not lever against ears, fingers, hat brims or thin tails. Flush cutters are useful near accessible contacts, but leave a tiny stub rather than risking the finished surface.
For tight spaces, fine pliers can move small pieces carefully. If an interface does not separate with moderate pressure, stop and inspect whether it is actually part of the model.
Use an appropriate hobby tool or fine abrasive for remaining support nubs. Protect crisp facial features and embossed text. Start gently: aggressive sanding can quickly erase the fine detail that motivated the miniature print in the first place.
Different filaments respond differently to finishing methods. Try any chemical or heat treatment on scrap material first and follow all relevant safety instructions; many treatments are unsuitable for casual indoor use.
Keep a picture of the worst support scars and compare them with the slicer preview. For the next print, experiment with orientation, contact placement and the support interface parameters appropriate for your material.
An improvement should be measured by actual surface quality and successful removal, not only by reducing the slicer's support-material estimate. For a character example, explore Hex the Witch Cat .
Begin with large, accessible support columns and work toward delicate details. Support beneath a base is often easier to handle than support wrapped around a hand or antenna. When you cannot find a safe cutting direction, rotate the figure in your hands and choose a new grip instead of pulling harder.
For small pieces, place a soft cloth below the work area so a released accessory is less likely to bounce away. Protect your eyes from brittle fragments, particularly when clipping a support that is under tension.
Keep a note of every support scar and the corresponding contact location in the slicer. If the same feature is damaged twice, consider a different print orientation, reduced contact area or a variant with easier geometry. Tree-style supports can help around certain complex shapes, but they are not guaranteed to produce better surfaces on every machine.
A change that saves filament but adds an hour of cleanup may not be worthwhile. Evaluate material used, printing time, accessibility and final surface quality together. Learn overhang and bridge planning to avoid supports that offer little benefit.
Let the part cool enough for safe handling and follow material guidance. Warm, soft plastic and rushed removal can damage small details.
Contact surfaces may fuse or leave texture due to interface spacing, temperature, orientation and the chosen support pattern.