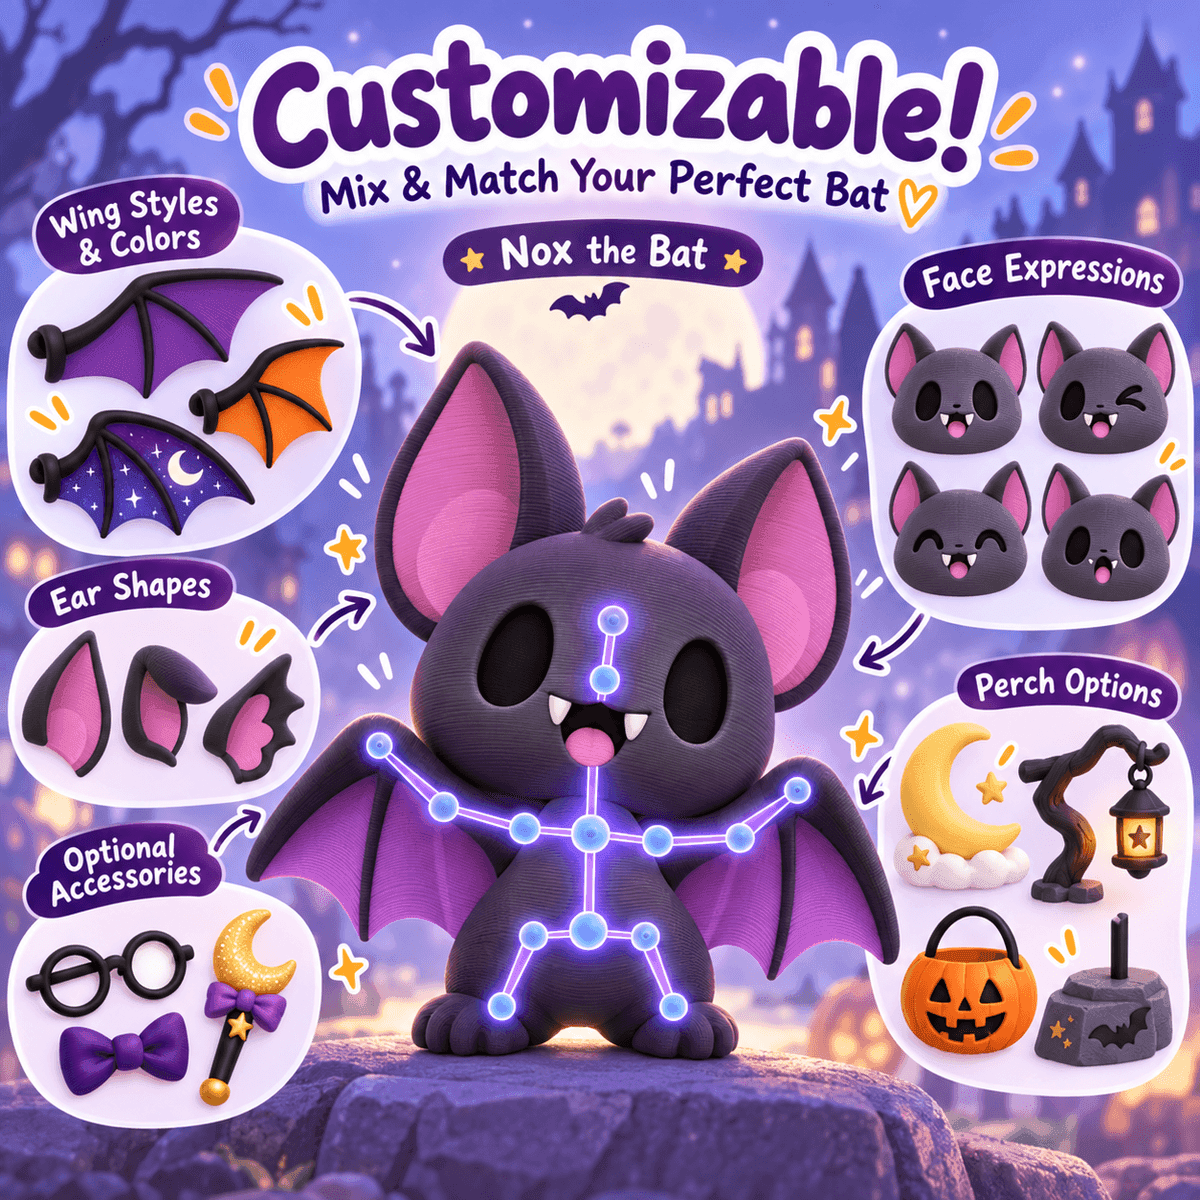
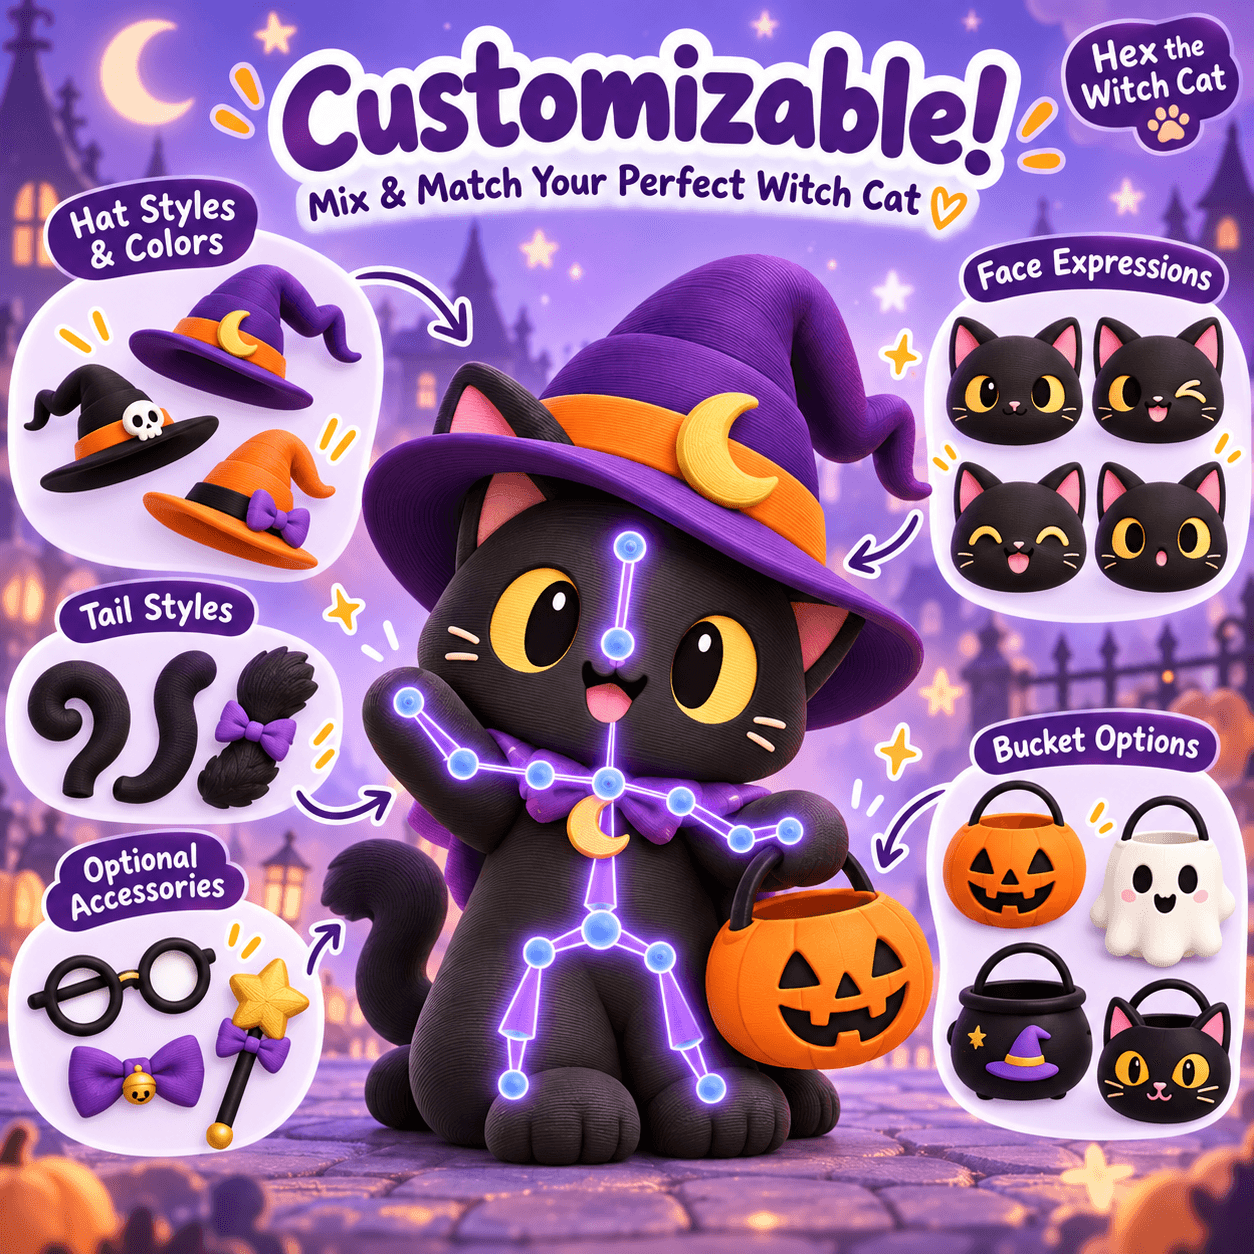
Cover image: AI-generated FreshSTL concept artwork. It illustrates a design direction, not a tested physical print or a guarantee of available options.
Character prints put attention on a small number of visible features. A face, a hat edge or the front of a stand may matter more to the final appearance than a much larger hidden surface. Support planning should reflect that priority.
This guide focuses on reviewing a decorative character for filament printing. It is a decision process, not a universal settings preset or a promise that a particular FreshSTL model is support-free.
Decide which surfaces matter most
Before adjusting any settings, identify the areas people will look at first. For a desk figure, that may be the face and front of the body. For a winged character, the outer wing silhouette may also be important.
Write down those priority surfaces. When comparing orientations, consider where supports would touch and whether you could reach those areas during cleanup. An orientation that looks efficient in a screenshot may create inaccessible material around a small accessory.
Begin with the creator's instructions
If the model includes a recommended orientation or assembly plan, use it as the starting point. A creator may have split a part to preserve a visible surface or make an underside easier to print.
When instructions are missing, treat the preparation as a test rather than a proven recipe. Concept artwork does not establish which orientation, material or support arrangement has been validated.
Compare a small number of options
Save the starting project and compare two or three plausible orientations. For each, inspect the footprint, support contact areas and overall estimate. Avoid changing orientation, scale, material and several support parameters simultaneously; you will have difficulty identifying why the result changed.
Do not judge by support quantity alone. Ask whether the supports serve the parts that need them and whether removal could damage a thin feature. A little more material can be worthwhile if the arrangement is easier to clean up.
Read the layer preview
The solid model view shows the intended shape. The layer preview shows the preparation your printer will attempt. Step through regions where arms, ears or accessories begin and check for unexpected disconnected areas.
Look at the layers around the first appearance of a projecting detail, not just the top and bottom of the model. Check that a feature is still present after slicing and that the support arrangement matches the plan you intended.
For more on the software controls, consult Prusa's support material documentation . Use the equivalent documentation for your chosen slicer when its controls differ.
Use customization to simplify the job
On a compatible FreshSTL Builder model, a more compact pose or a simpler accessory choice may produce a more manageable first print. If you make that change, export a new version and inspect it again. A support setup for one pose should not be reused blindly for another.
Our character posing guide explains the visual checks before export.
The Nox concept image shows a character with expressive ears and wings. It is an illustration of shapes worth reviewing, not evidence that the pictured configuration is a tested print.
Make the first test answer a question
If the main uncertainty is a separate accessory, test that component at its intended scale when the model provides it separately. If the uncertainty concerns a fixed full-body pose, choose one configuration and keep your notes precise.
Record where cleanup was difficult and which surface needs improvement. Then change the factor most directly related to that issue. This is more useful than applying a collection of unrelated internet settings.
Before pressing print
Confirm the printer and material profile.Check the actual size and selected orientation.Inspect layer transitions around projecting features.Review support contact on the face and other visible surfaces.Save the project so the result can be repeated or compared.Browse the FreshSTL catalog for character inspiration, and let the actual model and its instructions determine your final print preparation.