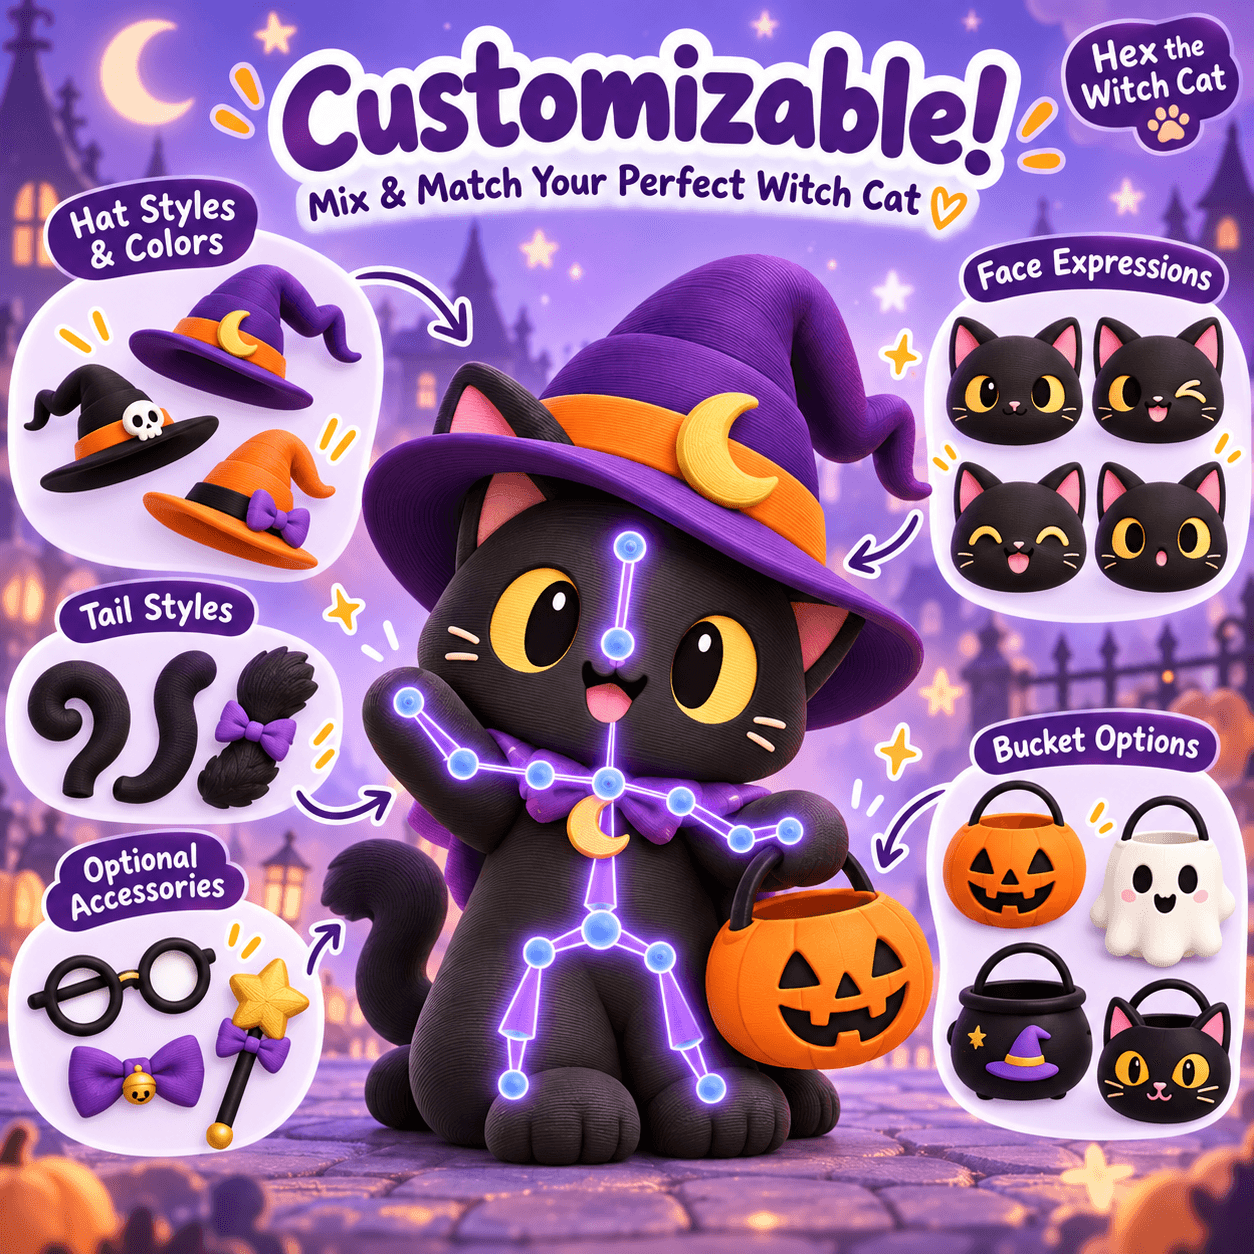
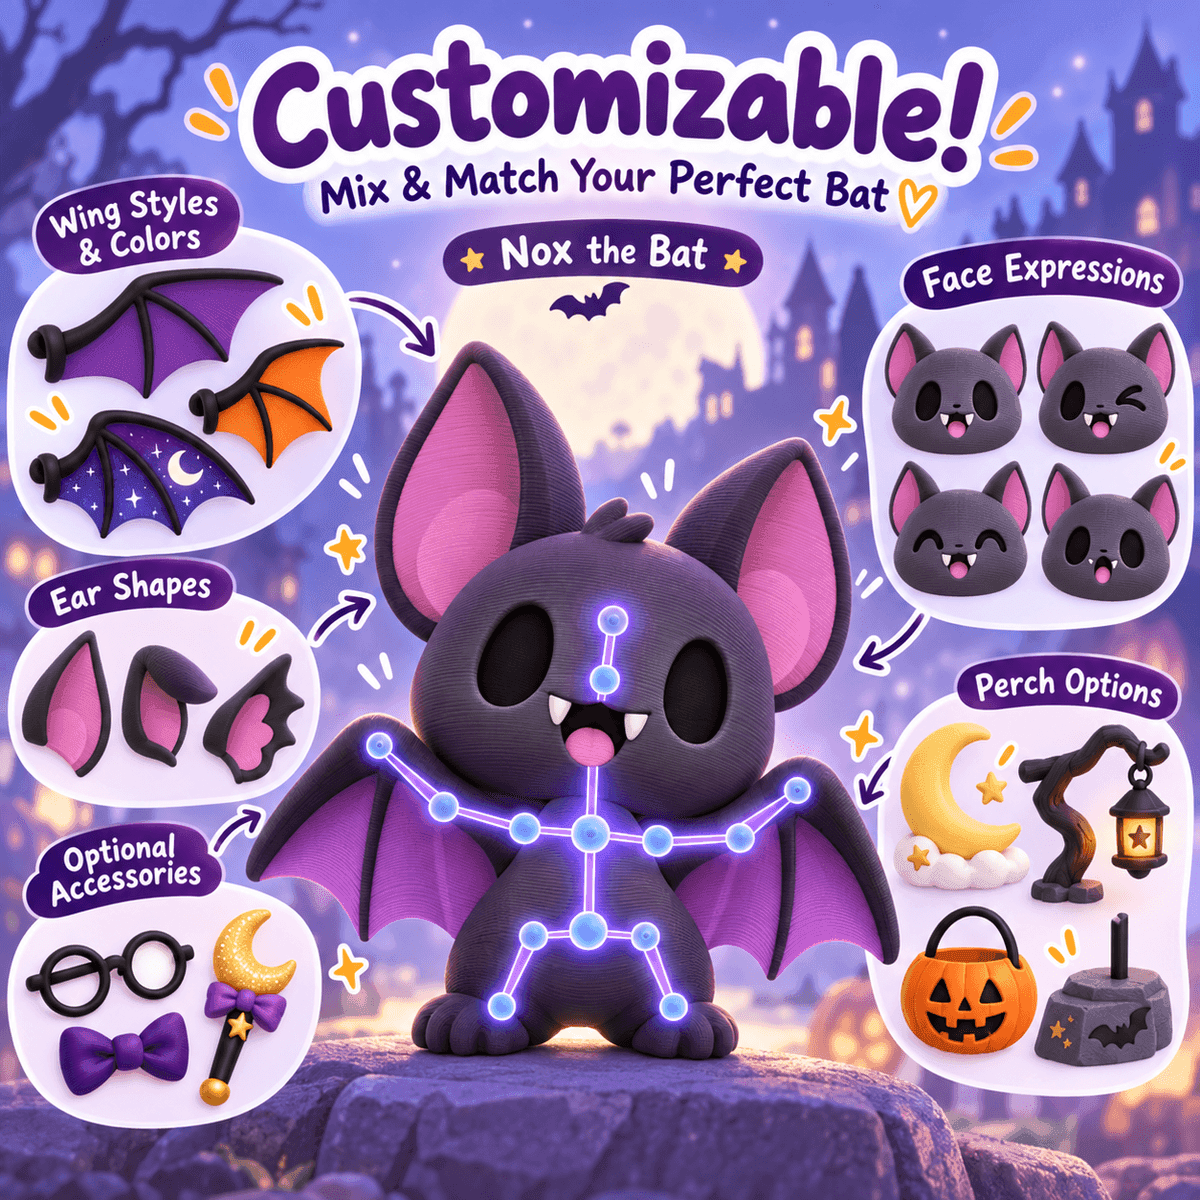
Cover image: AI-generated FreshSTL concept artwork. It illustrates a design direction, not a tested physical print or a guarantee of available options.
Customizing a printable character is easier when you separate creative decisions from print decisions. The creative question is what the character should look like. The print question is whether that particular version can be produced at your chosen size and orientation.
FreshSTL Builder provides a browser-based environment for compatible models. This guide describes a careful workflow using whichever controls your selected product actually offers. It does not assume that every character includes the same poses, accessories or export formats.
Start with the product, not the preview
Open the product description and establish three things: whether the release is available, whether customization is supported and what you receive as a download. Concept artwork may show a wider design roadmap than the options currently configured.
For example, the Hex artwork used here shows ideas for hats, expressions and accessories. Its current description identifies it as a concept in development. Use that illustration to understand the idea of variation, not as confirmation that every pictured part is ready to download.
Write a one-sentence design brief
A useful brief could be: a compact desk character with a readable face, one distinctive accessory and a stable base. That is more actionable than wanting the best possible version of a model.
Decide where the object will live. A shelf display can be viewed from a distance, so a strong silhouette matters. A character beside a keyboard should leave room for everyday use. A gift needs to survive handling and packaging as well as look good on screen.
Change one category at a time
If the compatible model offers variations, choose the main body or character first. Then work through the available accessories. Finish with pose adjustments where supported. Inspect the model after each change from the front, side and back.
Look for combinations that hide the face, intersect other parts or make the character visually unbalanced. A larger accessory is not automatically a better accessory. Often a single clear focal point produces a stronger design than several competing details.
For pose decisions, read how to pose a figure for 3D printing .
Review the whole object
A front view can conceal an accessory behind the character or an arm passing through the body. Rotate the view and inspect the underside as well. Ask whether the design should be printed as a single object or as separate components, according to the product's instructions.
Do not confuse digital movement with physical joints. Adjusting a character's pose before export can produce a fixed statue. A model that moves after printing needs a mechanical joint design, which is a separate feature.
Export a traceable version
Use the export or download options actually provided for the product. Give the file a name that records the variation and intended size, such as desk-character-hat-a-100mm. Keep a clean original so you can recover from a later experiment.
Import the file into your slicer and measure it there. Confirm that the intended parts are present. Inspect the layer preview for disconnected features, unexpected missing areas and supports that would be difficult to remove. Do not assume that the colors of a browser preview are preserved in an STL.
Our STL versus 3MF guide explains what those file types can carry.
The best first attempt is one that answers a question. If a delicate accessory is the uncertain part, test it at the intended scale when the model allows separate printing. If stability is uncertain, start with a simpler pose and a supported base arrangement.
Record the variation, scale, material and slicer profile. Once a version works, you have a reliable starting point for the next character rather than a collection of unlabelled downloads.
Explore the FreshSTL catalog , confirm the current product status and start with one compatible design.