File Guides
STL vs 3MF: Which File Should You Use for a Character Print?
FreshSTL
Oct 7, 2026
3 min read
Read Next
More articles you might like
Looks like you haven't added any 3D models yet.
More articles you might like
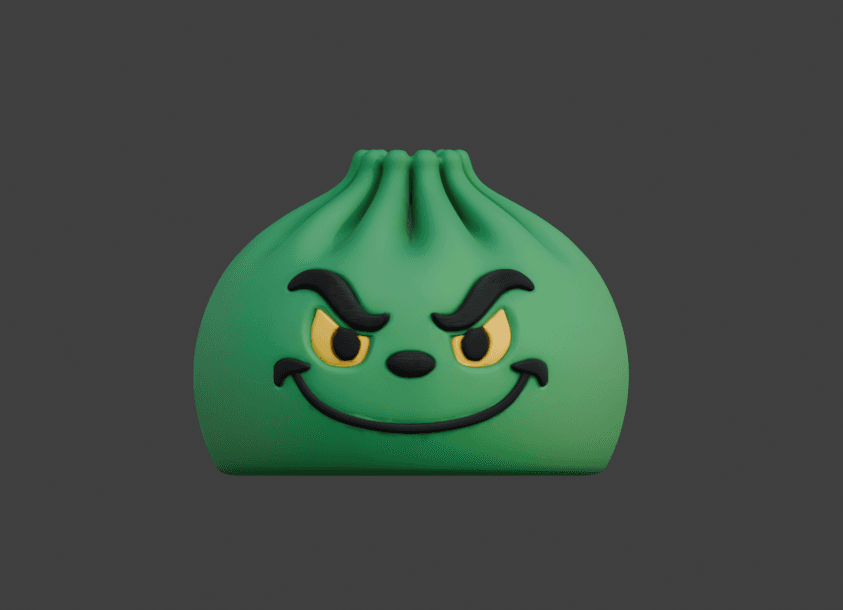
Cover image: FreshSTL product render, used as an illustration rather than a photograph of a finished print.
You have finished choosing a character and now need a file for printing. STL and 3MF often appear in the same workflow, but they are not interchangeable labels for identical information.
The practical question is not which extension is universally best. It is which information you need to preserve between the model, your slicer and the next time you open the project.
STL describes the surface of an object as a mesh of triangles. It is widely used to transfer printable geometry between modeling software and slicers. The standard format does not define a physical unit or a reliable full-color material workflow, so verify dimensions and appearance after import.
For a FreshSTL character, an STL is useful when your immediate goal is to bring the shape into your slicer and choose the print preparation yourself. The model file is not the same thing as a printer-ready instruction file.
3MF is designed to carry a richer description of a manufacturing model, including defined units and support for additional information such as materials or colors. A slicer may also use a 3MF container to save its project settings. Exactly what transfers depends on the file's contents and the applications reading and writing it.
The 3MF Consortium specification is linked below for readers who want the format details.
A file containing geometry does not necessarily contain your printer profile. Conversely, a slicer project can contain preparation choices that are wrong for your machine, nozzle or material.
When opening a shared project, inspect the selected printer, build volume and material profile before slicing. Treat included settings as context to review, not instructions to accept without checking. The extension alone cannot tell you whether someone else's machine configuration is suitable.
Suppose you have a decorative figure, a separate display stand and a choice of accessories. Keep the original downloads together. Import the pieces required for one version into your slicer and confirm their relationship and scale.
Choose your own machine and material profiles. Position the parts, review supports and inspect the layer preview. Then save the preparation as a slicer project so you can reopen that exact arrangement later.
This gives you two useful records: the source geometry and the prepared printing project. If you return to FreshSTL Builder to create another supported variation, save it as a new source file and update a copy of the slicer project.
A browser render can use materials, lighting and textures to show an attractive character. Those display choices are not necessarily part of the exported mesh. If you download STL geometry, plan color separately through filament choices, painting or a supported multicolor workflow.
Even when using 3MF, verify what the receiving application imports. Do not assume every visible color in a product image has become a separate printable region or part.
Before printing, check the actual dimensions rather than relying on a filename. Our STL scaling guide walks through that step.
For FreshSTL downloads, the current listing and available export options determine which formats you receive. Check those details on the model catalog before planning a workflow around a particular format.
Do not rely on STL to preserve those colors. Plan filament, painting or a supported multicolor preparation separately.
No. Inspect its contents and any included printer or material settings. A shared project may have been prepared for a different machine.