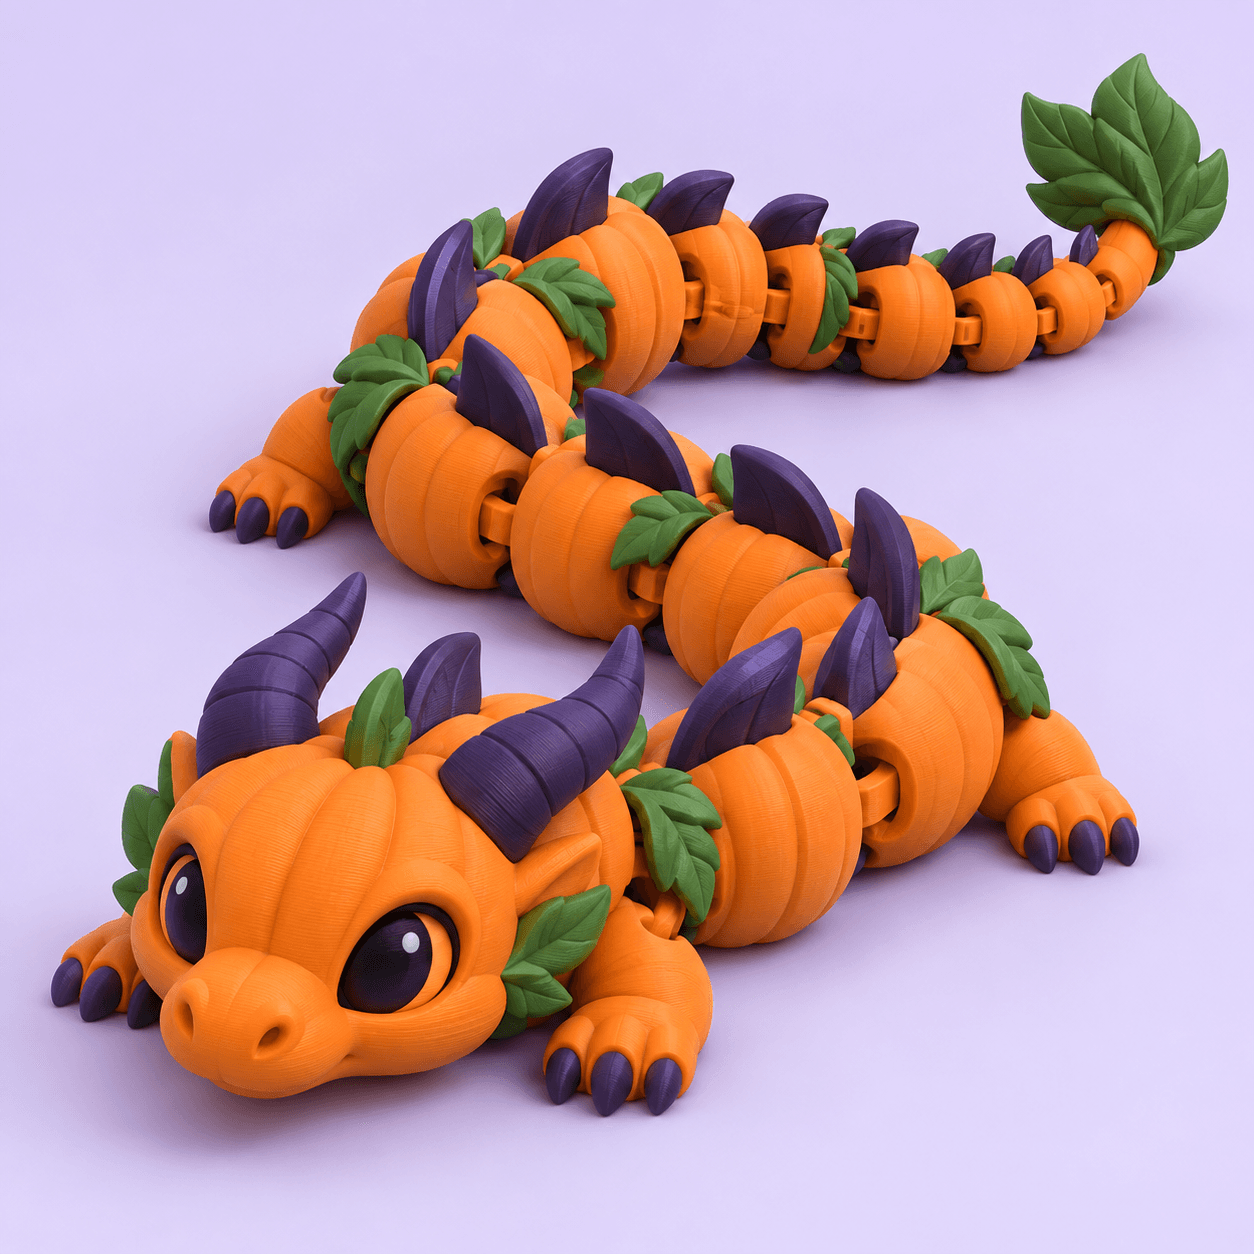
Cover image: AI-generated FreshSTL concept artwork. It illustrates a design direction, not a tested physical print or a guarantee of available options.
Scaling is one of the easiest actions to perform in a slicer and one of the easiest to underestimate. The model looks familiar after resizing, but the physical dimensions of every feature have changed.
Before scaling a FreshSTL character or any other STL, identify the dimension that matters: total height, wing span, stand diameter or shelf footprint. Then check whether the model includes fitted components or moving joints.
Use a clear scale calculation
The scale factor is the desired dimension divided by the current dimension. Multiply by 100 to express it as a percentage.
For example, a model that is 120 mm tall and should become 90 mm tall needs a factor of 90 / 120 = 0.75, or 75%. With uniform scaling, its width and depth also become 75% of their original values.
Measure the imported model in the slicer rather than assuming its size from a filename. Check the resulting dimensions after applying the scale so an unexpected unit interpretation does not go unnoticed.
Uniform scaling keeps the proportions of the character. Scaling only one axis deliberately changes the shape: a circular feature can become elliptical, and a connector can stop matching the part intended to receive it.
For a character you want to resize without redesigning, keep the axes linked. Treat nonuniform scaling as a geometry change that requires additional review, especially around fitted parts.
Apply the same scale to matching components
If a character, its accessory and its stand are separate files, establish which pieces must fit together. Scale that group consistently. Accidentally shrinking the character while leaving the connector at its original size can create an assembly problem that is difficult to diagnose later.
Keep the unmodified files in a separate folder. Save each prepared size as a distinct slicer project rather than repeatedly overwriting a single file.
Thin details become thinner
Imagine an illustrative feature that is 1.2 mm thick. At 75% scale it becomes 0.9 mm thick. That arithmetic does not establish whether your printer can reproduce it, but it tells you which detail now deserves attention.
Inspect small ears, fingers, hat tips and accessory handles in the sliced preview. A feature visible in the solid model view may be simplified or absent in the generated paths. Make your judgment from the actual preparation, not just the attractive surface preview.
Joint clearances scale too
Consider a purely illustrative 0.4 mm modeled gap. At 75% uniform scale it becomes 0.3 mm. These values are not recommended clearances for FreshSTL products; they demonstrate that resizing changes the available separation between parts.
For an articulated or fitted design, use the creator's supported size guidance. A successful print at one scale does not prove a much smaller version will behave the same way. If the instructions provide a test connector, use it to answer the fit question before printing the entire character.
See articulated versus digitally posed models to identify which kind of design you are working with.
Do not predict cost from height alone
Doubling all dimensions makes a geometrically similar solid occupy eight times the volume. Actual filament use and print time also depend on walls, infill, supports and toolpaths, so use a fresh slice for estimates rather than multiplying the previous time by two.
This matters when turning a small desk character into a centerpiece. Check build volume, part layout and handling before committing to the larger version.
A repeatable resize checklist
Record the original measured dimensions and desired final dimension.Apply a uniform scale to all components that must fit together.Confirm the new footprint, height and orientation.Review thin details, gaps and supports in the layer preview.Save the exact scale and slicer project used for the test.When exploring the FreshSTL catalog , look for model-specific size instructions. Keep concept images separate from confirmed print dimensions and start with a documented configuration whenever one is available.