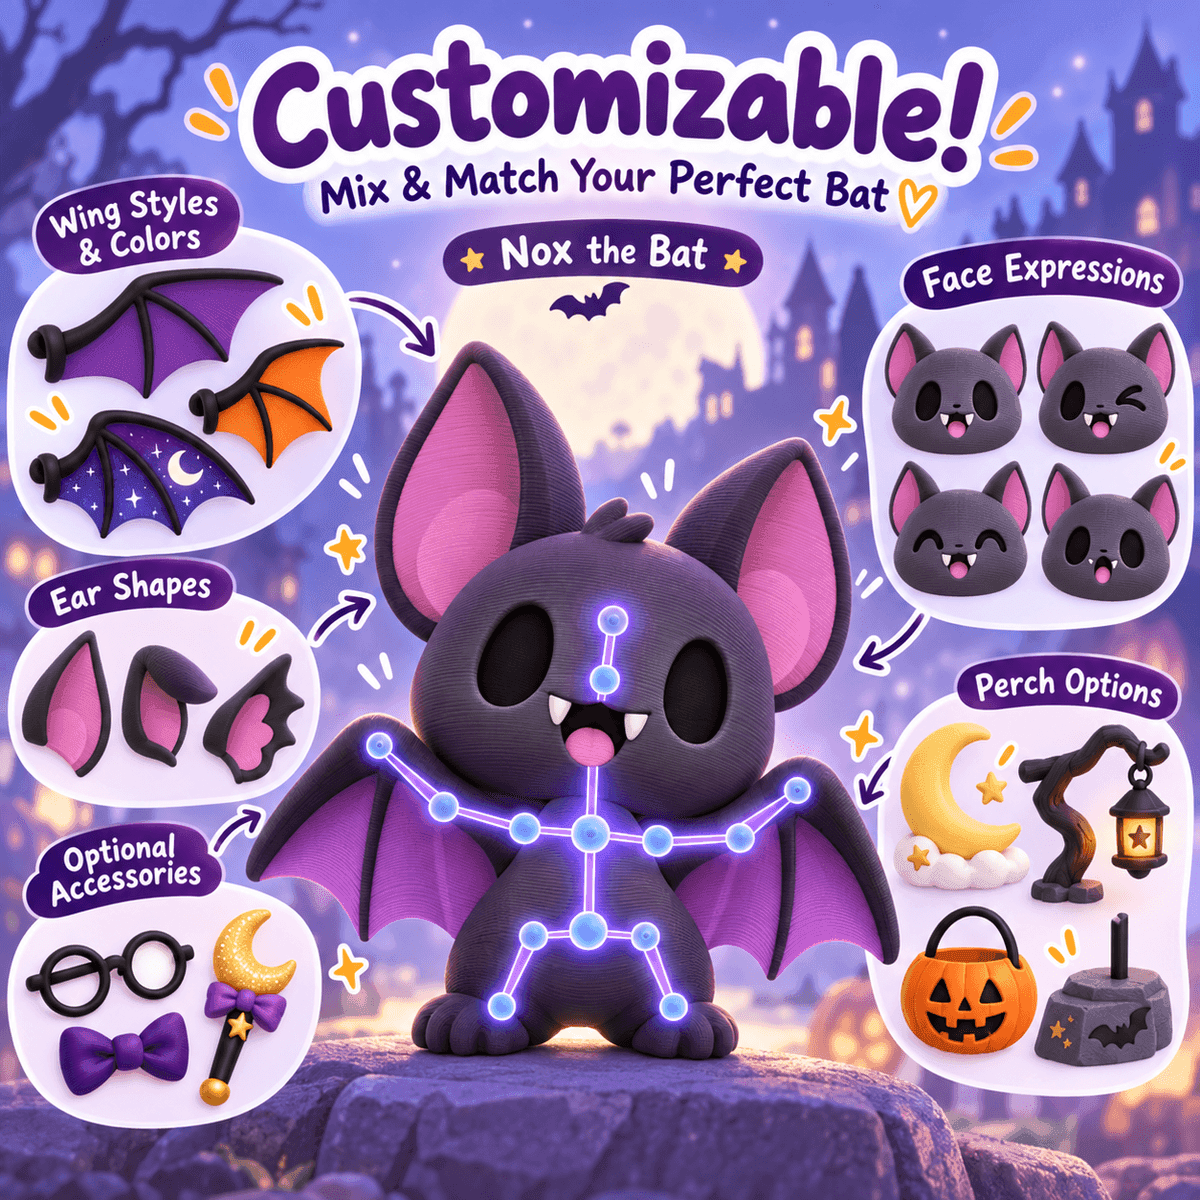
Cover image: AI-generated FreshSTL concept artwork. It illustrates a design direction, not a tested physical print or a guarantee of available options.
A pose that looks exciting in a 3D viewer can be awkward to turn into a physical object. Arms may hide the face, an accessory may collide with a leg or the whole character may lean beyond its stand.
On FreshSTL models that provide pose controls, the best approach is to work in small steps. First decide what the pose should communicate. Then inspect what that choice does to the complete object and its print preparation.
Begin with one clear action
Choose a simple intention: greeting, looking curious, resting or presenting an accessory. A readable pose usually has a clear main gesture. If every limb points in a different direction, the result can become visually noisy before any print issue appears.
Use a modest starting position. Check the head direction and overall body angle before adding small hand or accessory adjustments. Save a recognizable version before making a more ambitious variation.
Check the silhouette
Look at the figure from the view in which it will be displayed most often. Can you distinguish the face, arms and main accessory? Does the gesture still make sense when the model appears small on screen?
Then inspect a side view. This often reveals that an accessory sits much farther forward than expected or that a limb is hidden behind another part. Review the back and underside too; a front view alone is not enough.
Visual contact means parts look close together from one viewpoint. It does not prove they touch in three dimensions.
Geometric contact means surfaces meet or overlap. Whether that produces suitable printable geometry must be checked in the exported file and slicer.
Physical support means the completed object has a stable arrangement of contact points or a properly designed stand. A tiny touch point that looks convincing on screen may still be impractical for the intended display.
Keep these questions separate when reviewing feet, tails and handheld objects. Do not assume an accessory has a strong attachment simply because it appears to rest against the body.
Think about the finished display
A wide stance can read clearly on a shelf, while a compact resting pose may suit a desk. If a model includes a supported stand option, inspect how it is intended to connect and whether the instructions require separate assembly.
Try a simple paper footprint at the intended size. Mark where the stand will sit and where the widest accessory extends. This quick planning step helps avoid printing a figure that does not fit its display location.
The Nox artwork illustrates an expressive character direction, but its listing currently describes a concept. The illustration is not evidence that a particular pose or stand has been physically tested.
Recheck supports after changing a pose
Moving a limb can change which surfaces face downward. A print setup prepared for one version therefore should not be assumed to suit another. Export the selected pose, import it into the slicer and inspect the layers and support placement again.
Our support planning guide provides a focused review process.
If your first result is difficult to clean up, simplify the pose before making several unrelated slicer changes. That keeps the next test informative.
Remember what digital posing does not promise
A digital skeleton is a way to manipulate a model before printing. It does not itself create mechanical hinges or movable joints in the final object. Decide whether your goal is a fixed display figure or an articulated print.
Read articulated versus digitally posed models if those two ideas are becoming mixed together.
Explore compatible designs through the FreshSTL catalog , confirm their available controls and aim for a pose that reads clearly from more than one angle.