Print Preparation
3D Printing Overhangs and Bridges on Character Models
FreshSTL Editorial Team
Nov 6, 2026
3 min read
Read Next
More articles you might like
Looks like you haven't added any 3D models yet.
More articles you might like
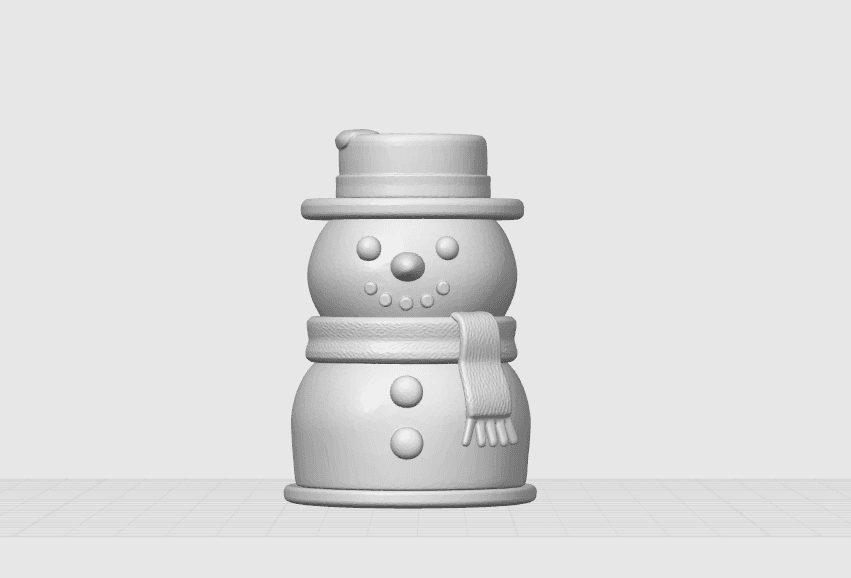
The featured visual, where available, is a FreshSTL product render rather than evidence of a physically tested print.
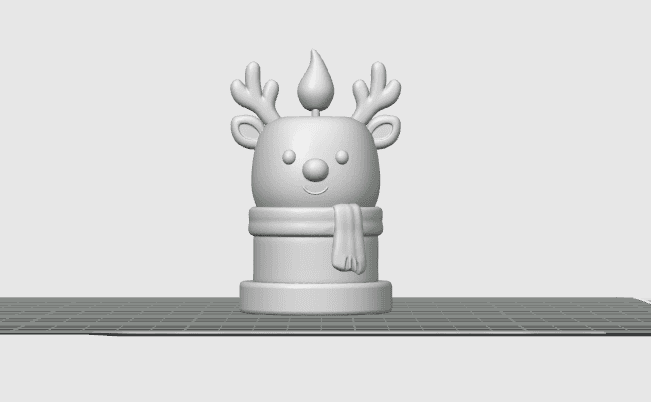
An overhang extends outward as the model grows; each new layer has less material directly beneath it. A bridge stretches filament across an open gap between two supporting regions. A figure can contain both: a reindeer muzzle may create an overhang while a small decorative arch may create a bridge.
The two features respond differently to cooling, speed and geometry. Do not treat a slicer's single 'overhang angle' setting as a universal answer.
Rotate your slicer's camera and inspect thin horns, outstretched arms, hat rims, noses and tails. The most attractive camera angle on a product image rarely reveals the underside. Check the layer preview for long, unsupported runs.
Identify which parts will be seen most closely after printing. Face contact scars are more distracting than marks beneath a base or behind a character.
A small rotation can turn a steep overhang into a gentler surface, but it may also reduce bed contact or introduce other support needs. Compare multiple orientations by looking at stability, print time, visible seams and support contact locations.
For separate accessories, printing pieces independently may allow cleaner surfaces and easier finishing. Confirm whether the actual model is designed for assembly before trying to split it.
Start from manufacturer profiles. Adequate part cooling and suitable bridge-speed behavior can help some filaments span gaps, but aggressive cooling may harm layer bonding or cause warping in others. A short benchmark is safer than adjusting the full figure blindly.
Avoid making bridge flow, temperature and speed changes simultaneously. Save each test result and inspect the underside texture, not just whether the shape completed.
If supports are unavoidable, choose contact locations you can reach with tools without twisting delicate decorative features. Plan finishing time for small antlers and limbs rather than treating support material as an afterthought.
Explore the Christmas Reindeer and read how to remove supports cleanly to complete the workflow.
To discover what your own printer can achieve, print a short test with progressively steeper overhangs or several bridge lengths. Use the same material and cooling profile planned for the character. Compare the underside of each feature rather than only checking whether the object remains attached to the bed.
You may find that some overhangs retain a good upper surface but produce a rough underside. That distinction matters when deciding whether the underside of a hat brim or the top of a hand should be visible in the final display.
Supports consume material, increase printing time and introduce contact marks. Their value depends on whether they prevent a more important failure. Put them beneath hidden surfaces where possible, avoid trapping them between moving parts, and consider whether a different model orientation could reduce the need.
If a delicate feature is likely to snap during removal, a separately printed and assembled part may be preferable when the original model is intended for assembly. Read the support removal guide for safe cleanup and pose planning advice for balance.
An overhang extends outward from supported material; a bridge spans a gap between supported regions. Their cooling and support needs differ.
No. Results depend on geometry, material, cooling, nozzle size and print speed. The 45-degree idea is only a rough rule of thumb.