Project Ideas
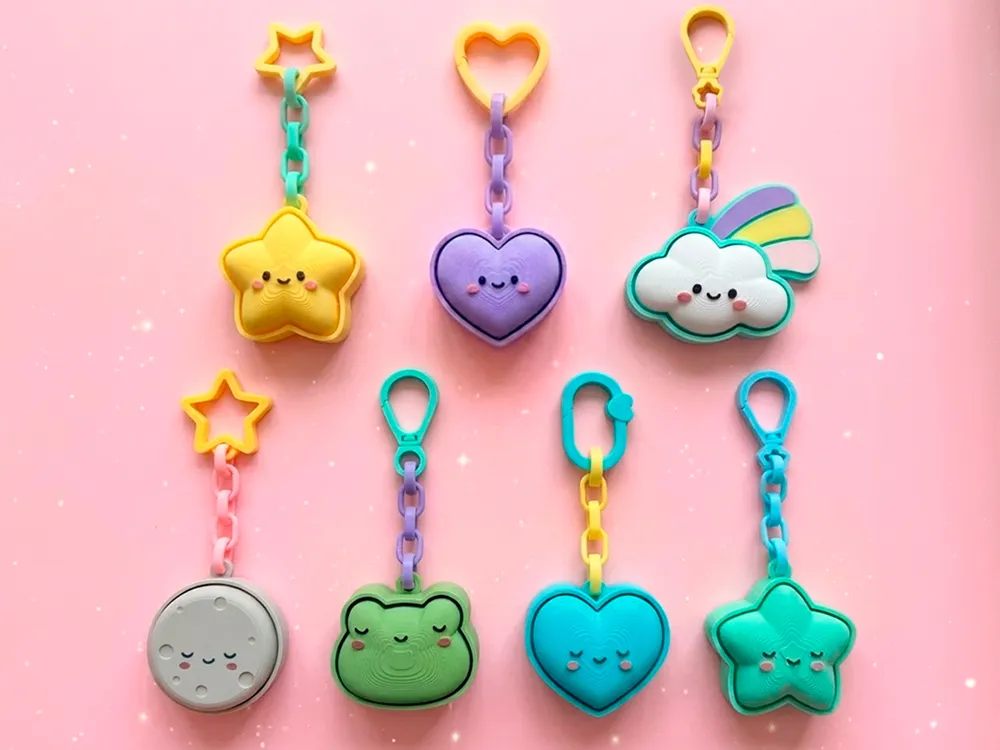
3D Printed Keychains: Design, Print and Finish a Durable One
FreshSTL Editorial Team
Nov 6, 2026
3 min read
Read Next
More articles you might like
Looks like you haven't added any 3D models yet.
More articles you might like
The cover artwork, where shown, is a FreshSTL product render for illustration rather than proof of a physical test print.
Keychains are handled, dropped and rubbed against other objects. A good printable keychain needs a recognizable silhouette at small size, edges that do not snag fabric and an attachment area that can survive ordinary handling.
Start by measuring the actual split ring you plan to use. Leave enough clearance for the ring to rotate without digging into a thin wall. Avoid creating the ring hole as a sharp-edged slit.
The loop is often more vulnerable than the decorative body. Add material around the opening and smooth the transition into the main object. A thick loop joined by a narrow neck can still snap at the neck.
Check print orientation before generating toolpaths. A pull that separates layers is more dangerous than a pull carried along continuous extrusions. For frequently used items, make a test and inspect the loop after ordinary repeated use.
Tiny letters can fill in, especially on first layers affected by bed squish. Embossed elements should have enough width to produce distinct slicer paths. Recessed lettering can be easier to read after a contrasting color fill, but test the finish before making a batch.
A decorative clicker or moving component adds complexity: you must account for part clearance, spring behavior and assembly. Follow product-specific instructions if available rather than assuming every keychain has the same mechanism.
Start with a clean plate and the filament maker's recommended profile. Review the sliced ring opening and the number of perimeters around it. Let the print cool before removal, then trim burrs without cutting into the load-bearing attachment.
Fit the metal hardware only after checking that the hole is unobstructed. If the ring requires excessive force, correct the print or choose matching hardware rather than prying apart a fragile plastic loop.
One dependable design can become a cohesive set through filament color, text variants or accessories. Record the successful scale and material so your next version behaves consistently.
Browse Adorable Clicker Keychains and read how to scale STL models before resizing small mechanisms.
Before assembling a batch, make a small test piece that uses the same hole diameter and wall shape as your planned keychain. Attach the intended split ring and rotate it through the movement it will see in daily use. If the ring pinches the plastic, leaves a white stress mark or catches on a sharp corner, revise the geometry before printing the decorative body.
Check the real outer dimensions as well: a keychain that looks cute on-screen can become too thick for a pocket. Avoid placing fragile raised details where keys and metal rings will scrape them.
Ordinary handling tests are more informative than a single dramatic bend. Clip the accessory onto a bag or set of keys, remove it a few times, and look for visible changes at the loop. If the filament is unusually brittle, inspect both material condition and the design's cross-section.
For clicker mechanisms, keep the moving surface clear of finishing residue and confirm that the cover does not interfere with the button. A decorative design and a mechanical part have different failure points. Continue with clicker assembly tips or keychain slicer settings .
Use a generous ring attachment, avoid sharp internal corners and orient layers with the expected pulling force in mind.
PLA can work for lightly used keychains, but heat exposure and repeated impacts may favor a tougher suitable material and design.