Materials & Settings
Best 3D Printer Settings for Keychains: A Practical Starting Guide
FreshSTL Editorial Team
Nov 6, 2026
3 min read
Read Next
More articles you might like
Looks like you haven't added any 3D models yet.
More articles you might like
The featured visual, where available, is a FreshSTL product render rather than evidence of a physically tested print.
A flat logo keychain, a miniature sculpted jacket and a moving clicker do not share one best slicer preset. Decide whether the part is primarily decorative, carried daily or mechanically operated. Then inspect the narrowest bridge between the design and its key-ring hole.
Use a material profile recommended for your printer and filament as the baseline. Changing many settings at once makes it hard to know what helped.
Lower layers may smooth curved surfaces and shallow relief, but tiny text also depends on nozzle width and font geometry. Preview whether small lettering produces real paths. If the text vanishes, the model may need to be enlarged or thickened.
For a shallow keychain, a finer layer height can add significant time with little visible improvement on the broad top face. Test a small version before changing the entire job.
On compact prints, walls can occupy most of the object. Adding perimeters often has a more direct effect on the attachment loop than filling the center with dense sparse infill. Check the sliced layers instead of relying only on the infill percentage shown in settings.
Top and bottom solid layers should also cover decorative surfaces cleanly. Inspect the print preview for exposed infill or gaps around recessed letters.
A key ring pulls on one small area repeatedly. Consider how the loop sits relative to the printed layers, and avoid geometries where a tiny neck takes the entire load. Round internal corners and test the actual ring hardware.
If a design includes an assembled moving section, test its clearance using the chosen profile. Strength improvements that close the gaps may stop the mechanism from functioning.
Print one keychain at its final intended size, remove it carefully and examine the hole, edge comfort, surface details and overall rigidity. Note your filament and profile so a matching batch remains consistent.
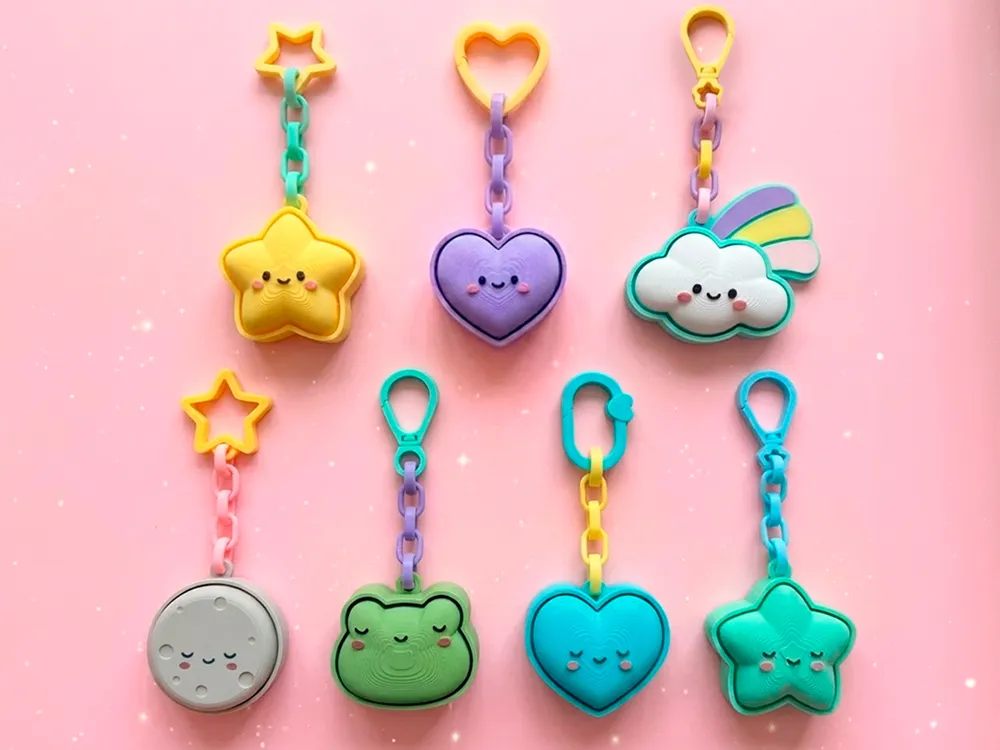
For a project example, see the Adorable Clicker Keychains and the durable keychain design guide .
Use your printer's validated profile for the material and print a single keychain at its intended dimensions. Check the sliced layer count, the loop path, top and bottom solid coverage and the number of walls. Save the slicer project as your baseline before altering layer height or surface settings.
After printing, attach the ring and assess the loop independently of the decorative body. If the ring opening is too small, do not automatically enlarge the whole model; that can distort a printed mechanism or make the accessory uncomfortably bulky.
If tiny letters merge, inspect font geometry and line widths before slowing the whole print. If the loop snaps, look at wall thickness and layer orientation. If a clicker section sticks, test mechanical clearances rather than increasing infill. If the underside looks swollen, revisit first-layer calibration and elephant's foot.
A successful profile is the one that makes the actual keychain reliably, not one that reaches an arbitrary infill percentage. For more on mechanical gaps, read 3D printing tolerances . For finishing and hardware, use the keychain design checklist .
There is no universal setting. For small pieces, the number of walls and loop geometry may matter more than increasing sparse infill.
Inspect the direction of everyday pulling forces, especially at the ring loop, and aim for continuous extrusion paths across its weakest section.