Seasonal Ideas
Multicolor 3D Printed Christmas Decorations: A Simple Workflow
FreshSTL Editorial Team
Nov 6, 2026
3 min read
Read Next
More articles you might like
Looks like you haven't added any 3D models yet.
More articles you might like
The article's cover visual, when shown, represents a FreshSTL 3D product, not a guarantee of a verified test print.
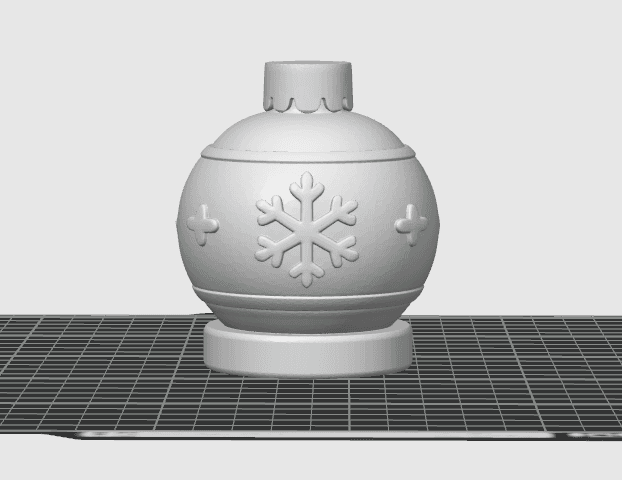
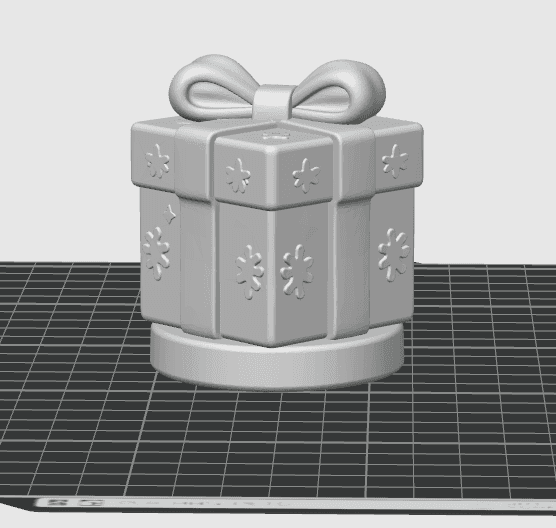
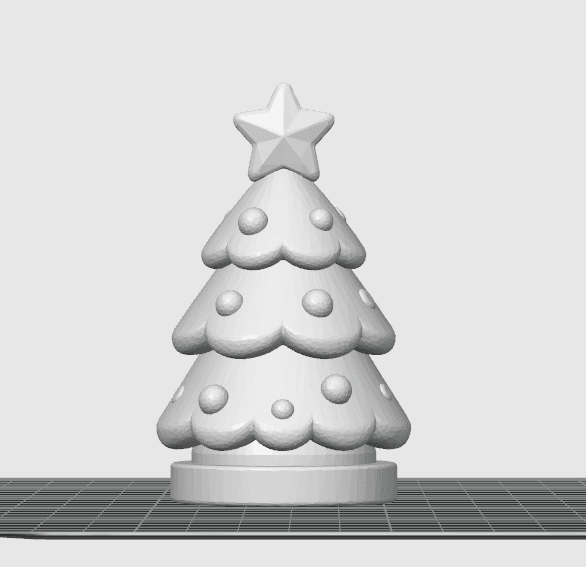
A red-and-green tree, white snowflake with a metallic accent, or bright gift-box ornament can work with only two or three colors. More colors are not automatically more attractive. Pick one primary shade, one contrasting shade and an optional accent.
Consider where the object will be viewed. A multi-color image on a screen does not guarantee the same appearance in your slicer or on a finished print.
If your printer has a compatible multi-material setup, assign colors in the slicer and inspect the generated preview. If you have a single-extruder machine, some designs allow manual filament changes at chosen layer heights. Others are easier to print as separate pieces and assemble.
Manual layer changes work best for designs where color regions are separated vertically. They are less practical for complicated side-by-side regions on the same layer.
STL is primarily a geometry format. A 3MF file may carry additional object, color or material data, but the exact information preserved depends on the software used to export and import it.
Always examine the project after loading it into the slicer. If a model appears in one color, check the file type, material assignments and whether the selected export workflow supports your printer.
Some multi-material systems create purge or transition waste when switching colors. The impact depends on the number of transitions and how the toolpaths are arranged. A design with many tiny color islands can cost more time and material than a layered ornament.
Where possible, group colors into larger regions, keep a consistent palette and test one ornament before duplicating several across the plate.
Remove strings and small support marks before assembling separate colors. Use compatible adhesive when an accessory requires bonding, and keep hooks and hanging loops strong enough for normal use.
Explore the FreshSTL printable Christmas tree , see Christmas decoration ideas and read STL versus 3MF .
Start with a mostly flat ornament that has a raised snowflake or name on its top surface. Print the base color first, then introduce the second color at the height where the lettering or raised detail begins. In a single-extruder workflow, this works when the color change separates by layer; verify that the accent does not also appear unintentionally on other faces at that same height.
If color regions appear side by side on the same layer, an automated multi-material workflow or separately printed parts may be more appropriate. Review the slicer preview closely before starting a long job.
A coordinated tree and ornament set can use the same two colors plus one optional accent. Keeping colors consistent makes a collection look intentional and can simplify filament inventory. For automated changes, estimate purge material as well as model material, especially when small color details trigger many swaps.
Store the final slicing project if the machine and software support it, so the next print uses the same material assignments. For export differences, revisit STL versus 3MF and for design inspiration browse Christmas 3D printing ideas .
No. Some designs can use manual color changes at specific layers or separately printed colored parts, depending on the geometry.
Standard STL stores geometry but not reliable full color assignments. A suitable 3MF workflow may carry color or material information, depending on the exporter and slicer.