Seasonal Ideas
Christmas 3D Printing Ideas: Ornaments, Gifts and Table Decor
FreshSTL Editorial Team
Nov 6, 2026
3 min read
Read Next
More articles you might like
Looks like you haven't added any 3D models yet.
More articles you might like
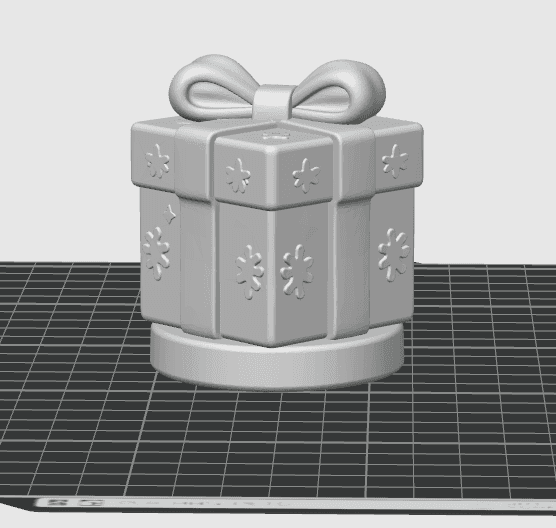
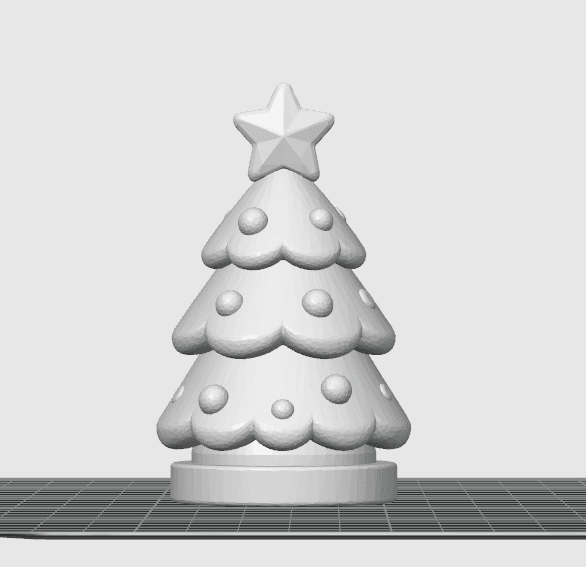
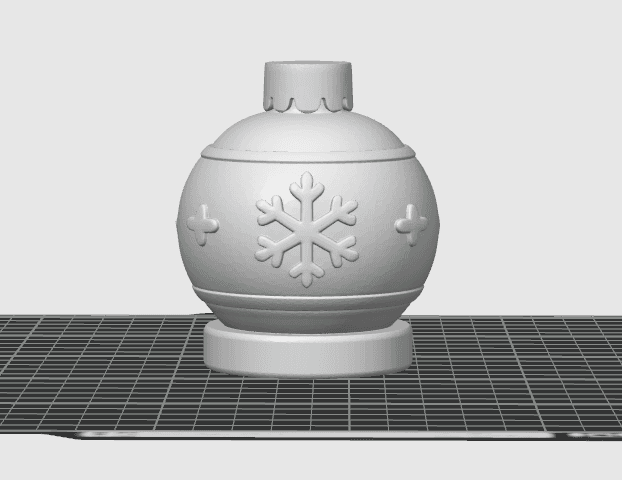
The cover artwork, where shown, is a FreshSTL product render for illustration rather than proof of a physical test print.
A holiday print succeeds when its job is clear. A hanging tree ornament needs a reliable loop and low weight. A tabletop snowman needs a stable base. A gift topper should remain thin enough to attach without overpowering the package. Decide where the object will live before browsing 3D models.
For a cohesive display, repeat one visual element across several prints: a snowflake motif, a rounded silhouette or two matching filament colors. A few coordinated pieces often look better than a collection of unrelated shapes.
These ideas suit different budgets because filament use depends on scale, wall count, infill and the chosen geometry. Read the slicer's material estimate instead of assuming every small-looking model is cheap to print.
For hanging pieces, orient the strongest face against the bed and inspect the ornament loop in preview. A decorative loop drawn in a render may become fragile after slicing if it is only one extrusion wide. Add a string, ribbon or hook only after checking that the opening has printed cleanly.
For displays, balance matters more than maximum detail. A high, narrow character can tip over. Reduce height, choose a wide base or arrange the figure among other stable pieces.
Light sanding and careful cleanup can improve edge quality, but sanding intricate snowflakes may round away their detail. Try a tiny test piece before using paint, glue or finishing spray on the full set. If a model needs support removal, keep tools away from thin hanging features.
Keep printed decorations away from flames and heat. They are decorative items, not food-safe serving accessories or electrical fixtures. Start with one sample, check fit and appearance, then print your set.
For a file-format refresher, read STL vs 3MF for 3D printing .
To see a seasonal model, browse the snowflake ornament .
For a small FDM printer, start with decorations that fit inside the build volume without splitting. Flat hanging ornaments are convenient because they tend to use little support material, while tall trees and reindeer need closer examination of the lowest contact points. If the object is larger than the plate, check whether the model author supplies separate printable parts. Cutting it yourself can create new alignment problems.
For a first holiday collection, print one ornament and one tabletop figure before filling an entire build plate. This gives you two different tests: surface detail and first-layer adhesion on a thin piece, then balance and overhang handling on a taller object.
Create a simple production list with model, color, scaled dimensions, estimated filament and intended recipient. Mark each item as sliced, printed, cleaned and packed. Slicer estimates are useful for planning, but allow for failed starts, filament swaps, and support cleanup.
Do a final safety check before gifting: hanging loops should have no visible cracks, sharp edges should be trimmed, and decorative prints should stay away from open flames and intense heat. If you need to modify the size, review how to scale an STL model before making several copies.
Flat ornaments, simple gift tags and small tabletop shapes are good starting projects because their contact surfaces are easier to orient.
PLA is suitable for many indoor decorations. Keep prints away from hot lights, heaters and other high-temperature locations.