Project Ideas
Mechanical Clicker Keychains: A 3D Printing and Assembly Guide
FreshSTL Editorial Team
Nov 6, 2026
3 min read
Read Next
More articles you might like
Looks like you haven't added any 3D models yet.
More articles you might like
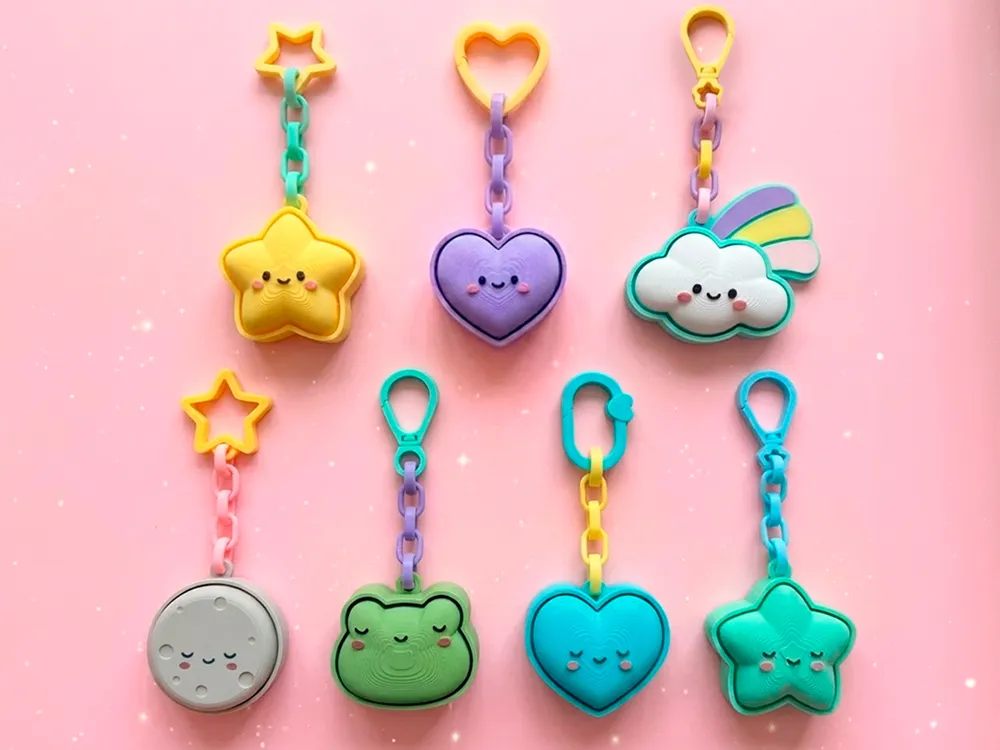
The featured visual, where available, shows a FreshSTL 3D model and should not be read as a photograph of a verified physical print.
A clicker keychain may use a printed flexure, a sliding part or a separate mechanical switch. The printable shell can look similar across all three, but the tolerances and assembly steps are completely different. Check the exact model description for required components, part count and moving elements.
If the listing is for a customizable design, verify which visual features can be changed without affecting the mechanism. Changing a shell outline is not the same as redesigning a moving interface.
Inspect all printed contact surfaces in layer preview. A nominal gap in CAD can disappear after slicing, particularly at sharp corners and thin clearances. The smallest usable gap depends on your machine, filament, calibration and direction of the gap.
Do not globally scale a clicker assembly to make it fit a key ring. Scaling changes not just its outer dimensions but also the clearance and the relationship to any purchased switch. Where possible, adjust the attachment hardware independently.
Flat shell pieces often print cleanly on a broad face, while a sliding element might need a different orientation for smoother contact. Decide which surfaces need dimensional accuracy and which can tolerate layer lines or support marks.
Print a single mechanism first. If two pieces should fit together, trial-fit before printing extra colored covers or assembling decorative parts.
Remove wisps and small burrs with hand tools, keeping sharp blades away from your fingers and away from flexible hinges. Avoid forcing a part that does not move; you could permanently deform its spring or crack a retaining clip.
If a design uses a purchased switch, verify its exact dimensions against the model's intended component. Similar-looking switches do not necessarily share the same housing or stem fit.
Inspect the key-ring loop independently from the clicker. Test everyday handling and watch for sharp edges near the thumb. A design that clicks nicely on a desk may still be inconvenient to carry if it has protruding corners.
Compare the FreshSTL clicker keychains and read the durable keychain guide for loop and material advice.
A purchased keyboard-style switch requires a cavity with the correct housing geometry, not merely a square hole. A fully printed flexure needs a thin elastic element that bends within its intended range. A sliding clicker needs surface clearance and smooth travel. Before printing, identify which kind of mechanism the model uses and whether the author names a particular switch or spring.
If a required component is missing, substituting one with a similar appearance can fail. Compare actual dimensions or select a model built for the available part. When working with a printed spring, do not assume every filament will flex safely for many cycles.
A sticky click may result from rough mating surfaces, over-extrusion, trapped support material or a misaligned cover. An unusually loose mechanism may have excessive clearance or a part printed at the wrong scale. Make sure the motion works before final assembly; forcing a snap-fit shell closed can make a minor fit issue much harder to diagnose.
If the switch works outside the enclosure but not after installation, inspect contact between the button stem and shell. Check for uneven pressure from screws or clipped housing walls. For clearance fundamentals, use 3D printing tolerance guidance .
No. Some are fully printed mechanisms, while others need switches, springs or hardware. Check the actual model's requirements.
Clearances, first-layer expansion, rough surfaces or incorrect assembly can obstruct motion. Inspect the contacting surfaces and model instructions.