Getting Started
Print-in-Place Articulated Toys: A Beginner's FDM Checklist
FreshSTL Editorial Team
Nov 6, 2026
3 min read

Read Next
More articles you might like
Looks like you haven't added any 3D models yet.
More articles you might like
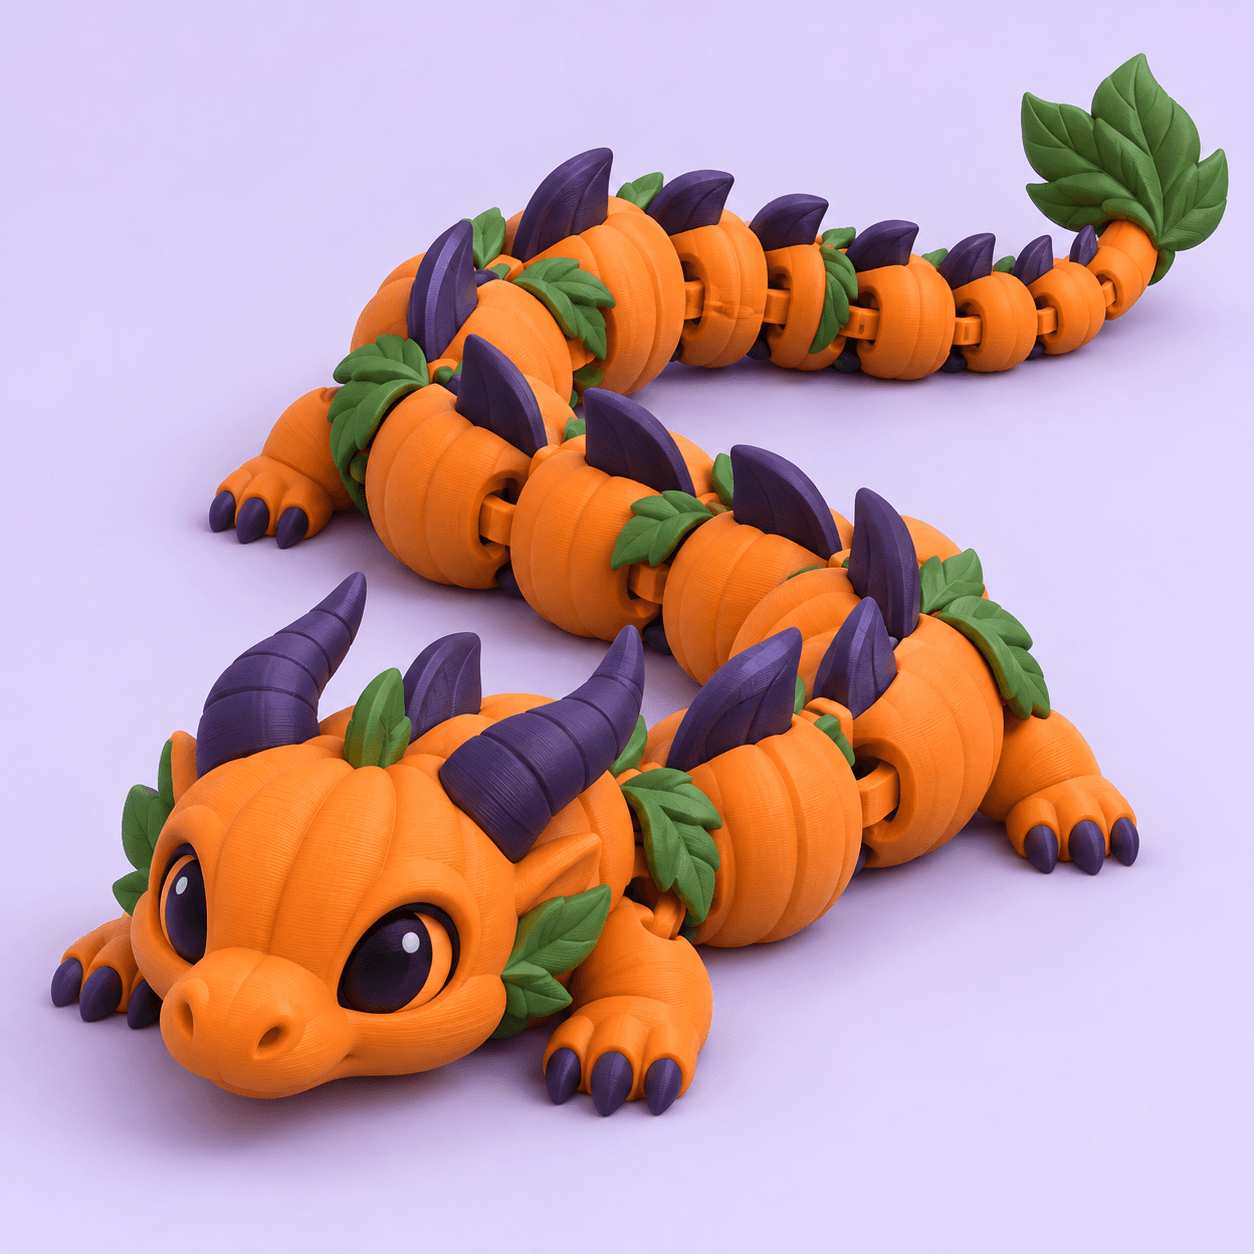
The featured visual, where available, is a FreshSTL product render rather than evidence of a physically tested print.
Before downloading, look for explicit print instructions. A digitally poseable character can export as a single rigid sculpture. An articulated figure may instead use printed pins, ball joints or connected hinges. Only a design made for print-in-place printing is intended to emerge from the build plate with its joints already connected.
The word 'articulated' alone does not establish the method. Inspect a listing's included files and assembly requirements.
Bring the model into a slicer and step through the layers at a hinge or ball joint. Separate pieces must remain separated where movement is intended. If the preview fills the gap with extrusion, printing will not magically restore it.
Do not apply aggressive automatic repairs without checking their effect on the separation surfaces. Some mesh fixes can accidentally fuse adjacent parts.
Use a small clearance test made for your machine and material, then confirm that the first layer is properly calibrated. Excessive bed squish can close the underside of a joint even if the higher layers have sufficient space.
A print-in-place design can also need a specific orientation and support strategy. Follow the designer's stated instructions where available, rather than assuming the most visually attractive orientation will work.
Allow the print to cool, remove it from the bed and inspect gaps for loose filament or unintended supports. If a joint is designed to move and the maker advises freeing it, apply only the recommended gentle motion; avoid twisting limbs to force a fused hinge.
If a joint is stuck, revisit extrusion and clearance, not force. A snapped pin or hinge cannot be fixed by repeated flexing.
Print-in-place toys are generally decorative or novelty items, not certified products for children or for heavy mechanical loads. Check small-part hazards and suitability before giving a print to a young child.
Learn more about articulated versus digitally posed models and joint clearance calibration . See Nox the Bat for a model example; follow that specific listing's construction guidance.
Before slicing a movable toy, confirm five things: the model is expressly intended to print in place; the initial size matches the design instructions; all joints have visible gaps in the preview; the first layer has adequate adhesion without excessive squish; and there are no unwanted support structures inside articulations.
If the model calls for assembly, print the separate pieces rather than trying to merge them into one object. A ball joint with a snap-fit socket is not the same as a sealed print-in-place hinge, and joining the meshes may eliminate the intended movement.
Once the print cools, look carefully around each joint before moving it. Tiny fused hairs may be removable, but a solidly merged region should not be pried apart with force. Follow any designer instructions for freeing joints, especially for thin pins or flexible connections.
For a second print, change the parameter connected to the failure: first-layer expansion if the joint sticks only at the bottom, extrusion or clearance if it is fused throughout, or orientation if support blocks the gap. Use joint tolerance testing rather than guessing from another printer's settings.
No. Some articulated models use separately printed joints or assembly, while print-in-place designs are intended to emerge with moving connections.
Possible causes include insufficient model clearance, over-extrusion, first-layer expansion or an incompatible orientation and slicer setup.